VISC 304 Sophomore Studio | Project 1 | Project 2 | Project 3 | Resources
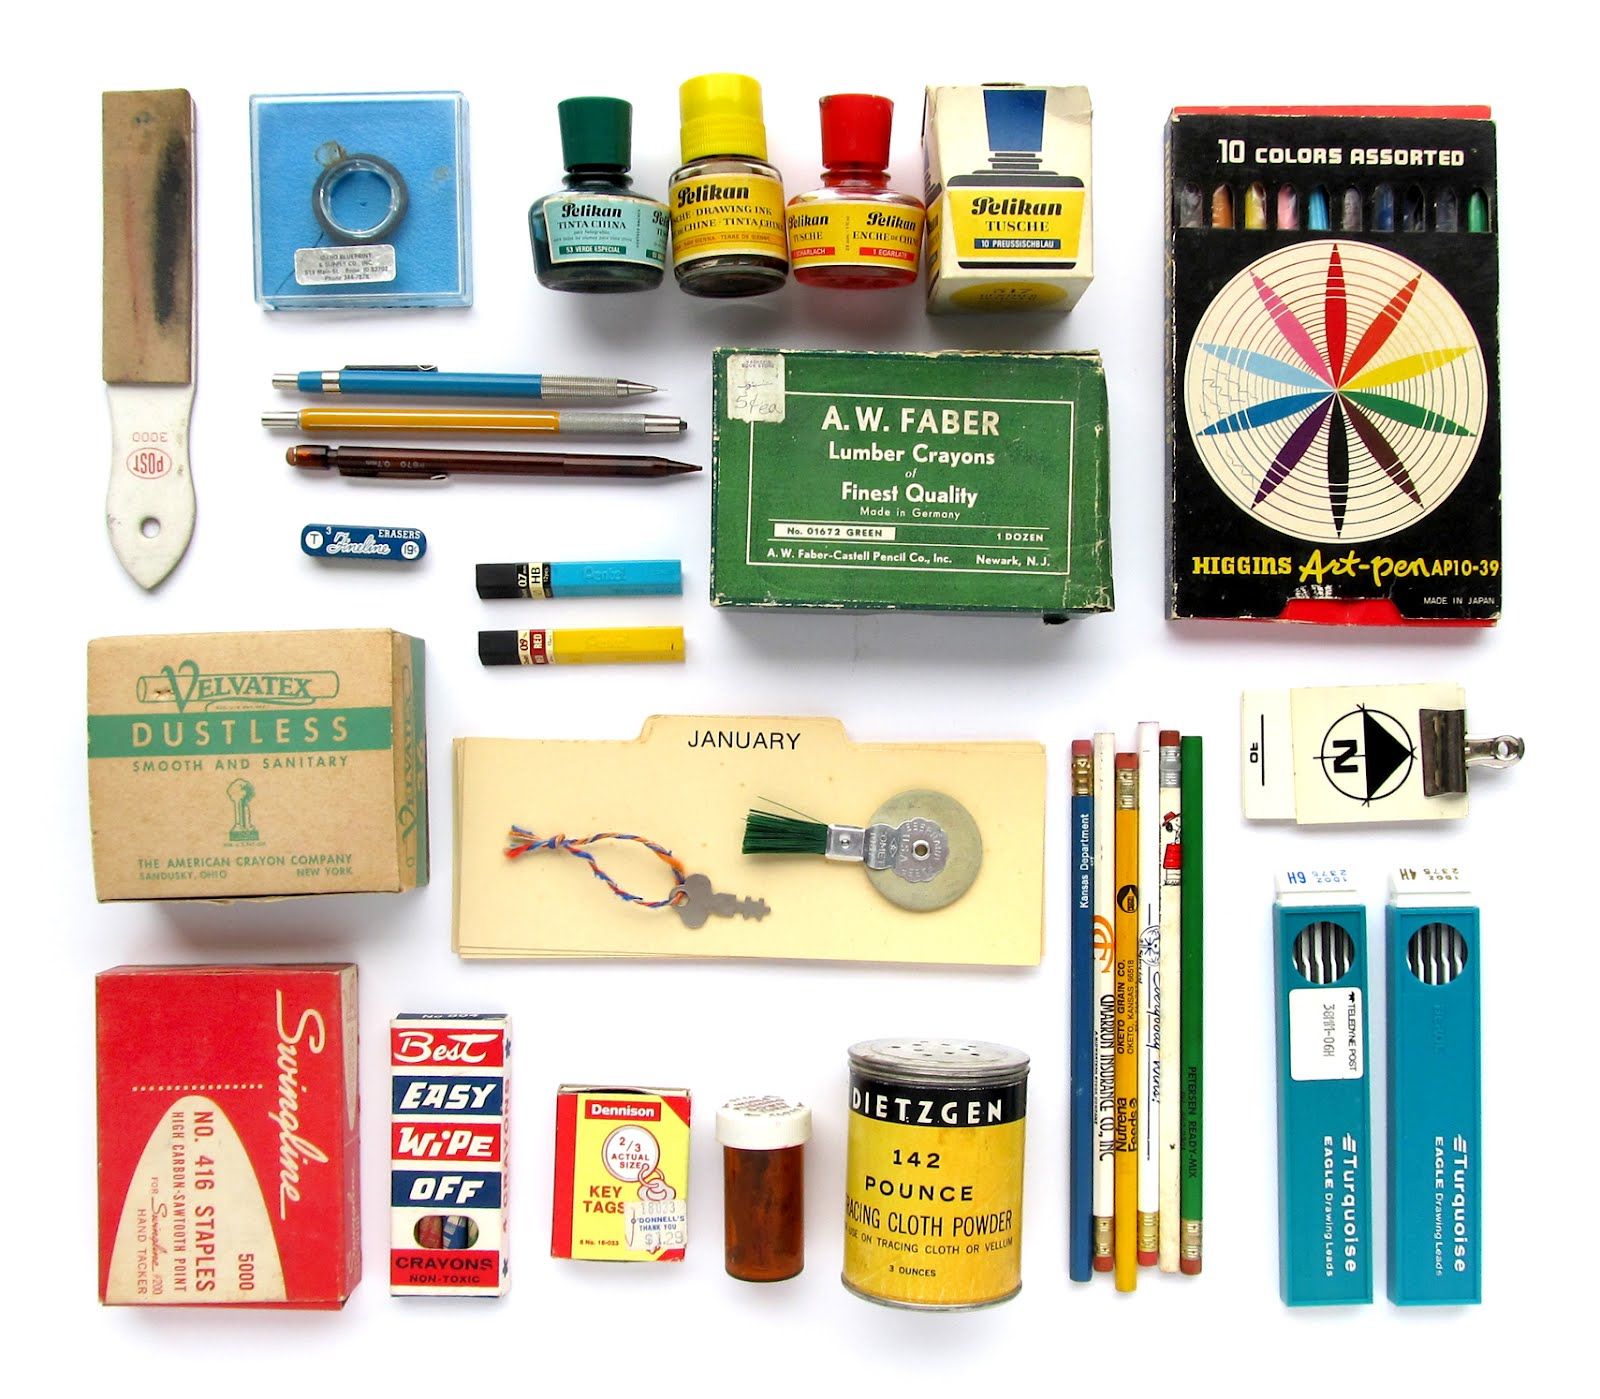
Better Packaging: Redesign a Toy, Art/Office Supply Packaging
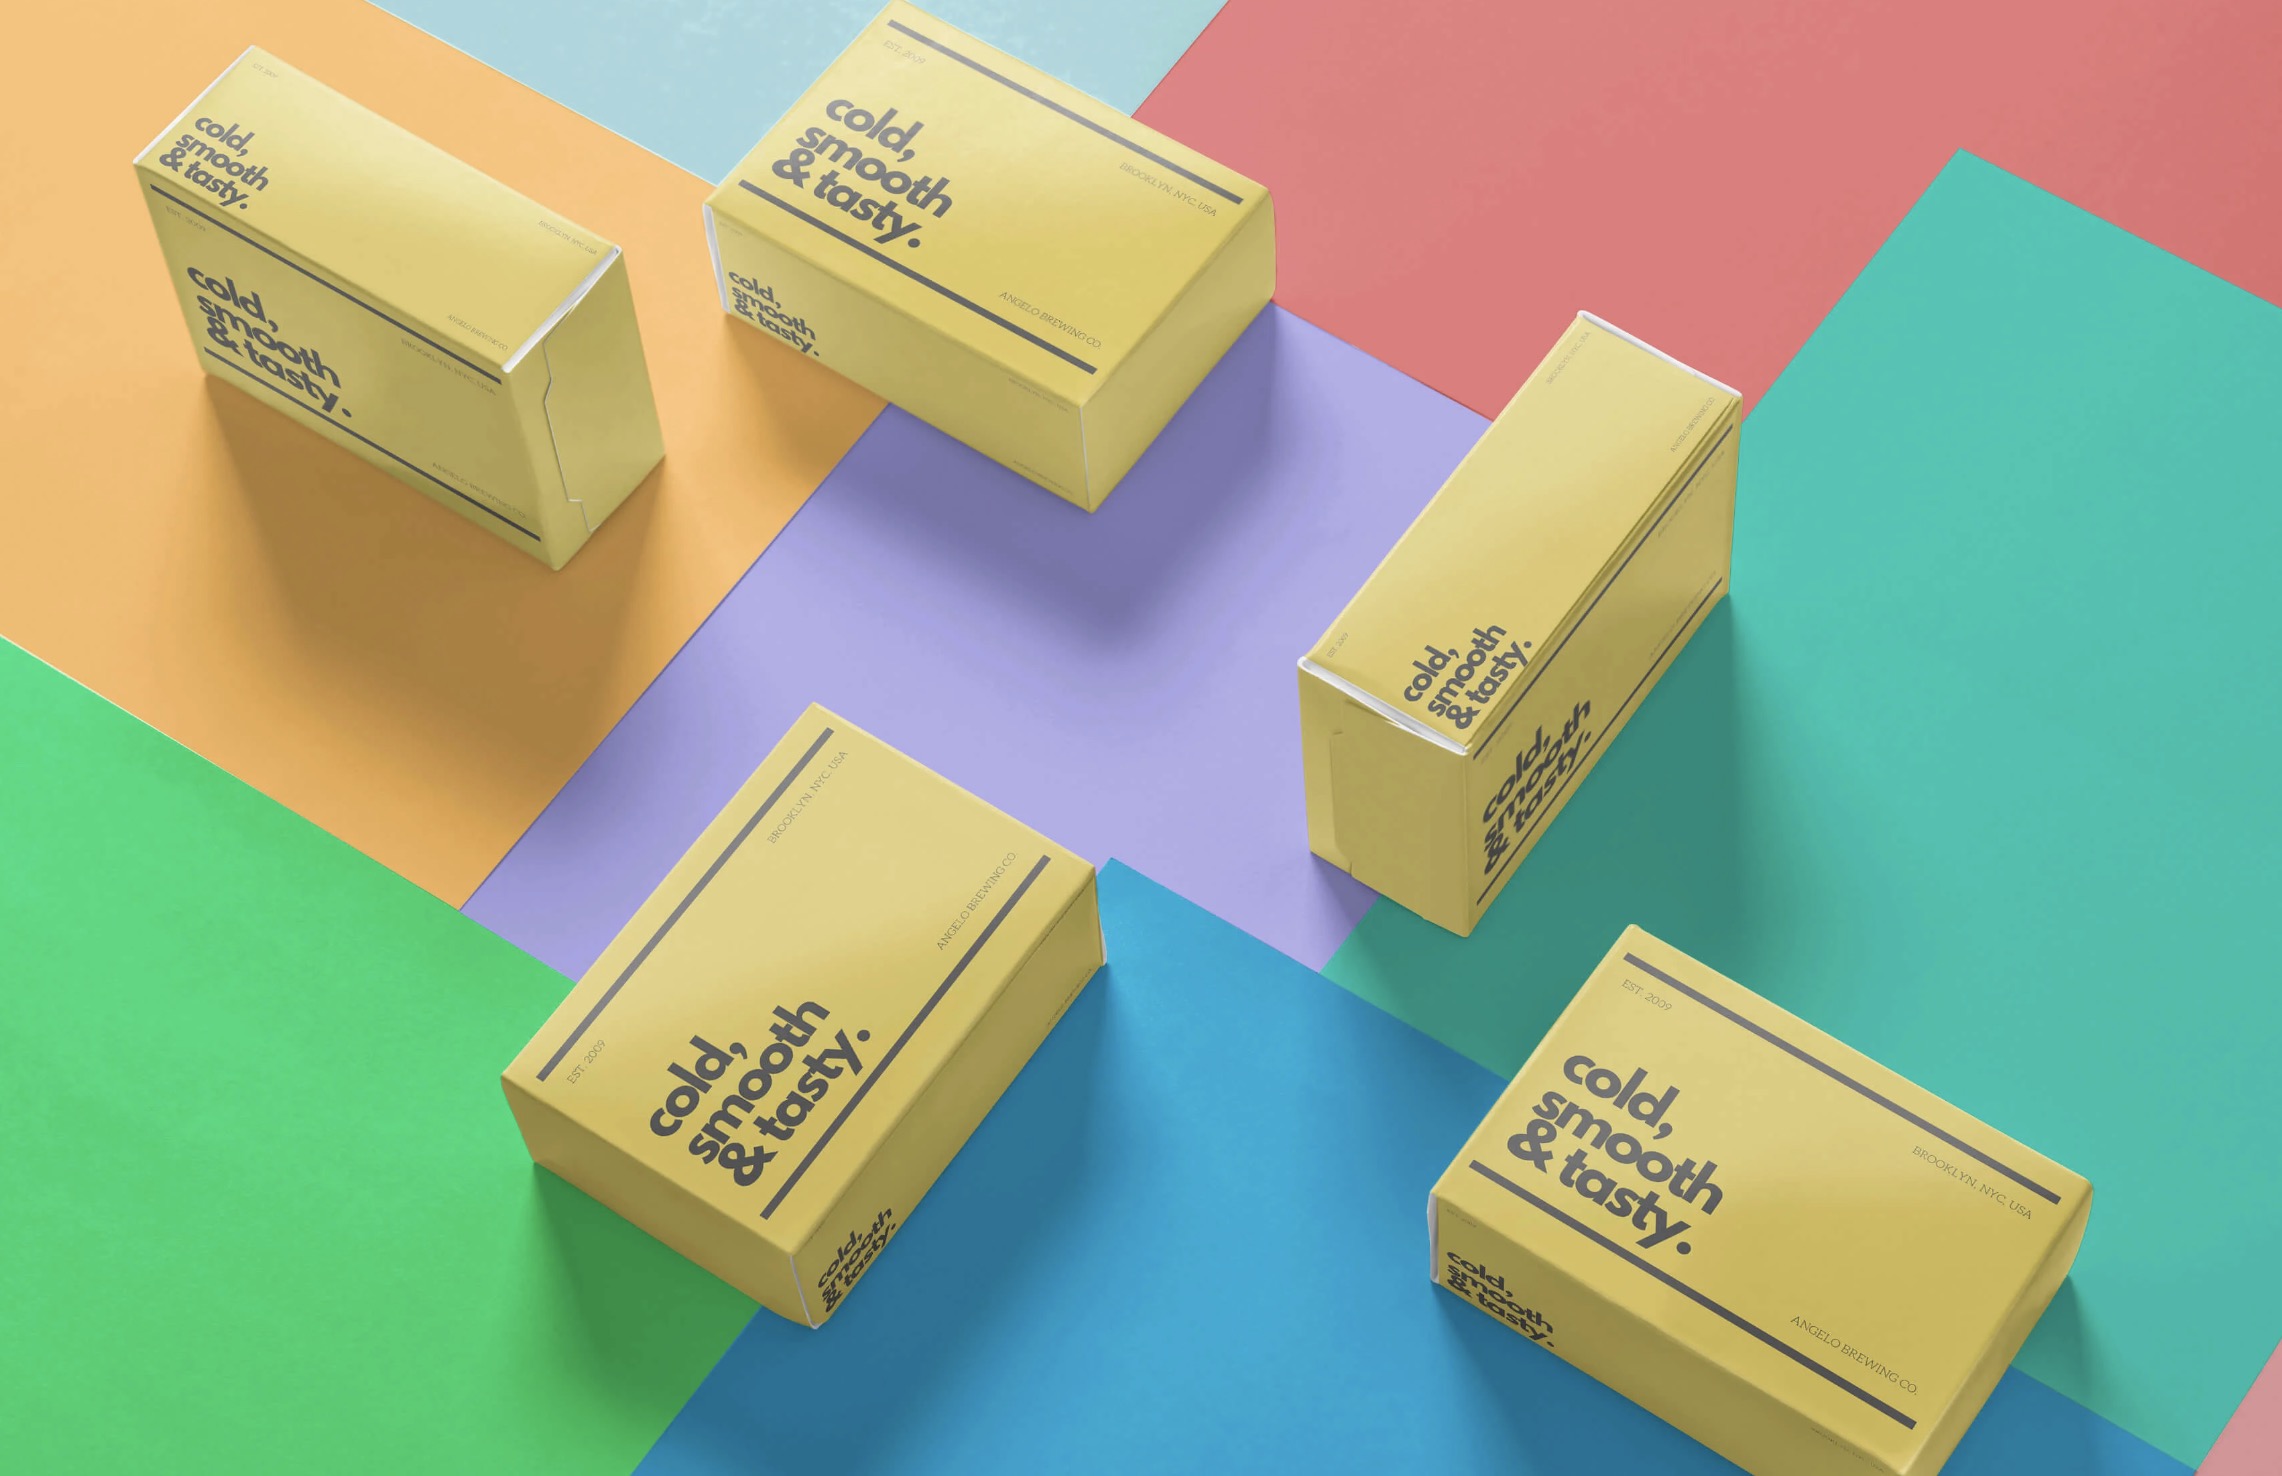
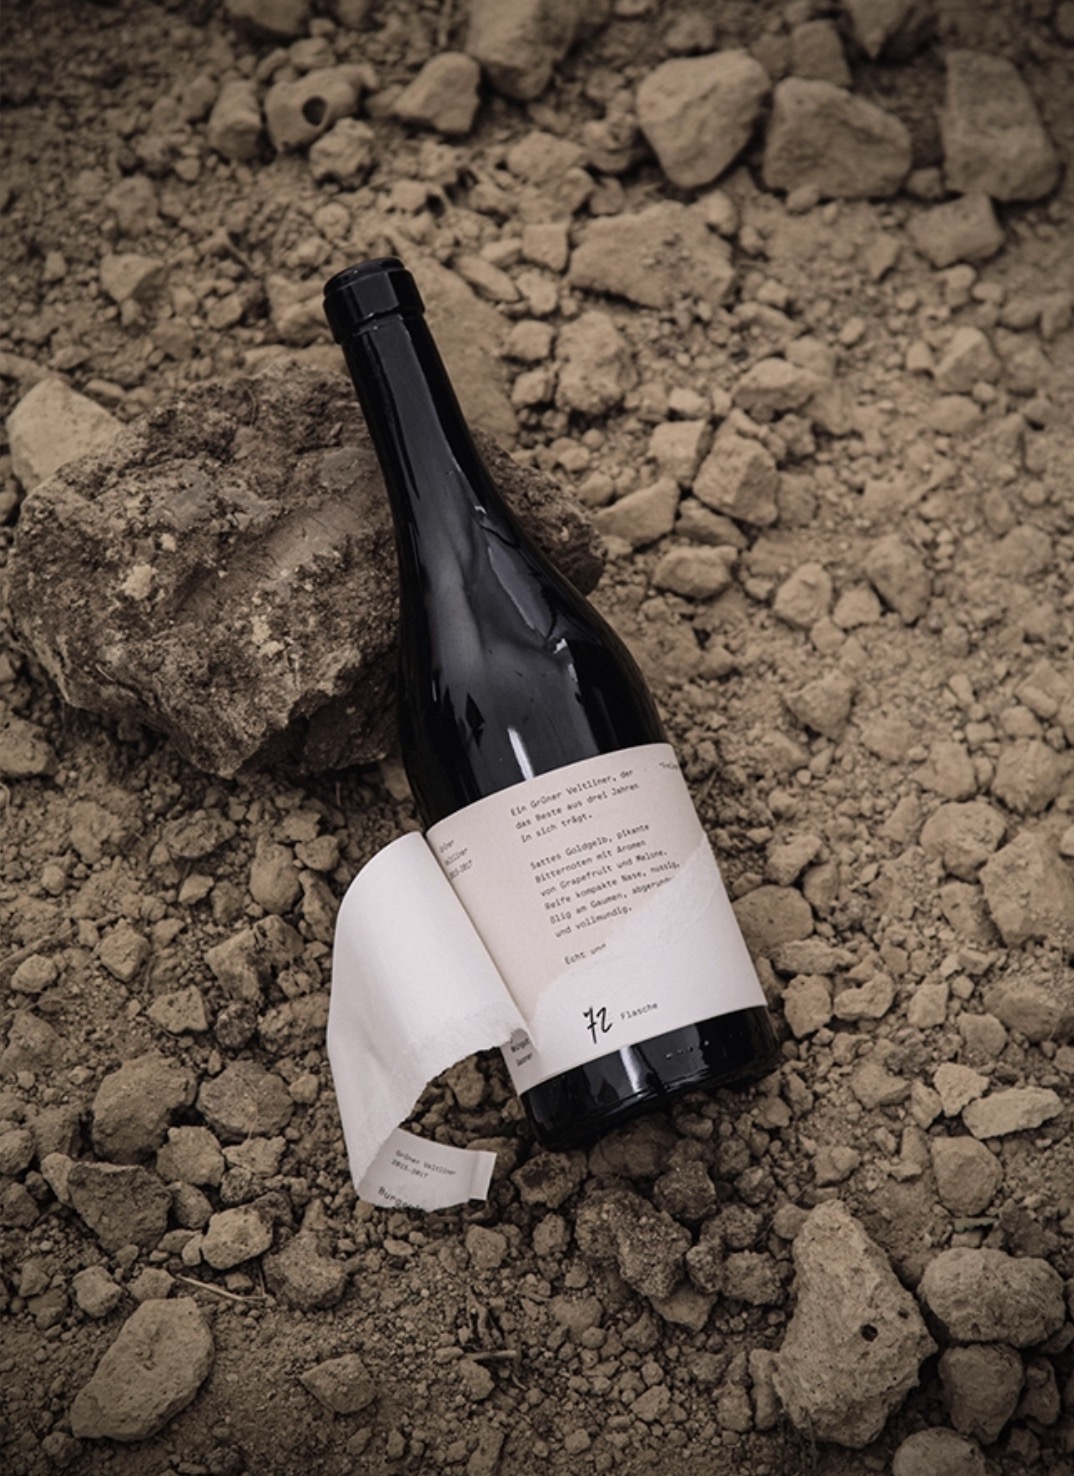
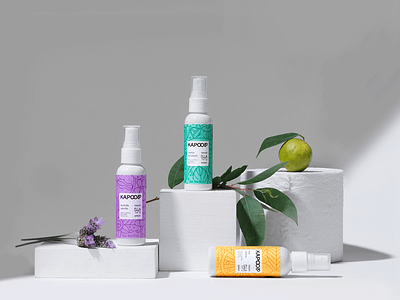
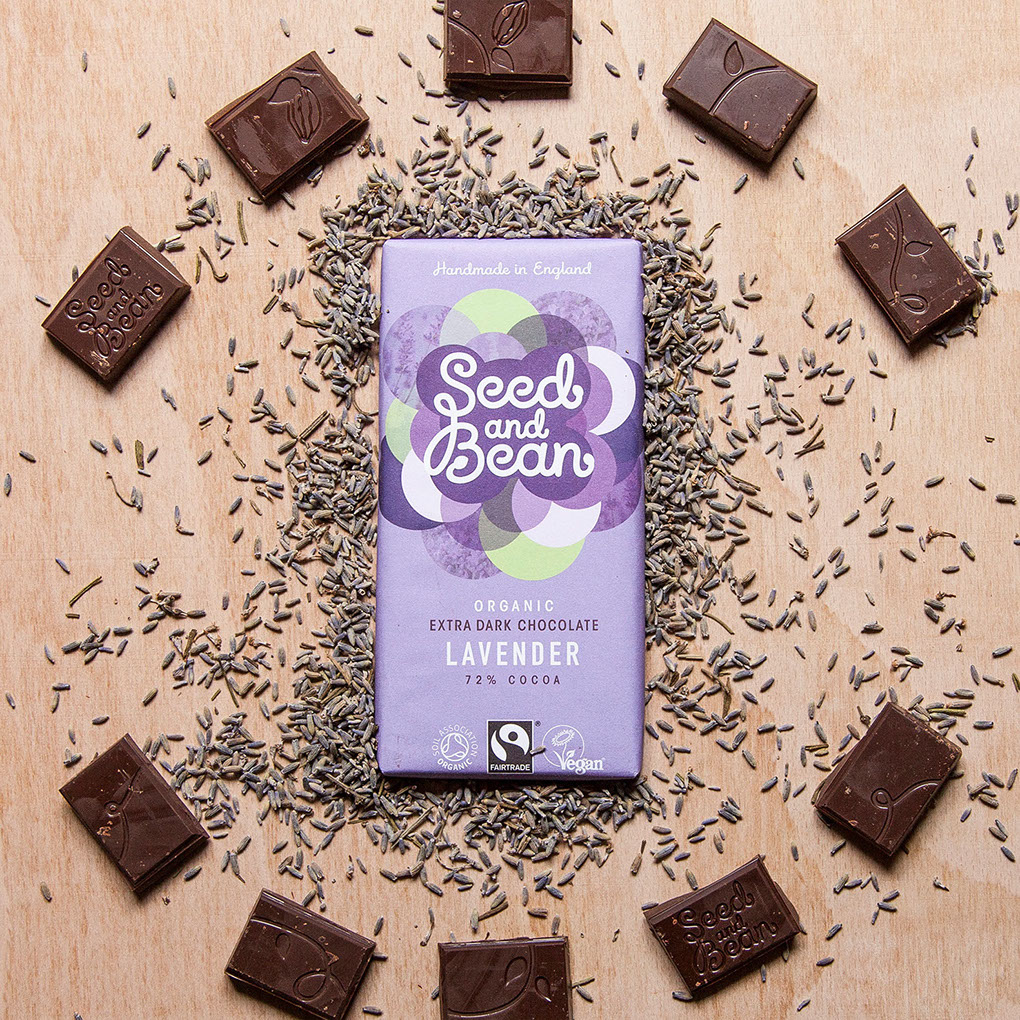
Objective: Redesign a packaging experience for a art/office supply/tool or toy with consideration to it’s sustainability. In our throw-away society, manufacturers usually specify their packaging choices based on conventional sizes/materials or perceived budget restraints. Not often enough is consideration is given to the user’s experience of it, how it leverages their brand or how it impacts the environment.
Create a package that expresses how it looks, what is does, what it is like to use it. Pay specific attention to how the package holds the object (protect), shows the object (communicates a story) and is an extension of the experience (so someone can keep the package or be able to up-cycle it).
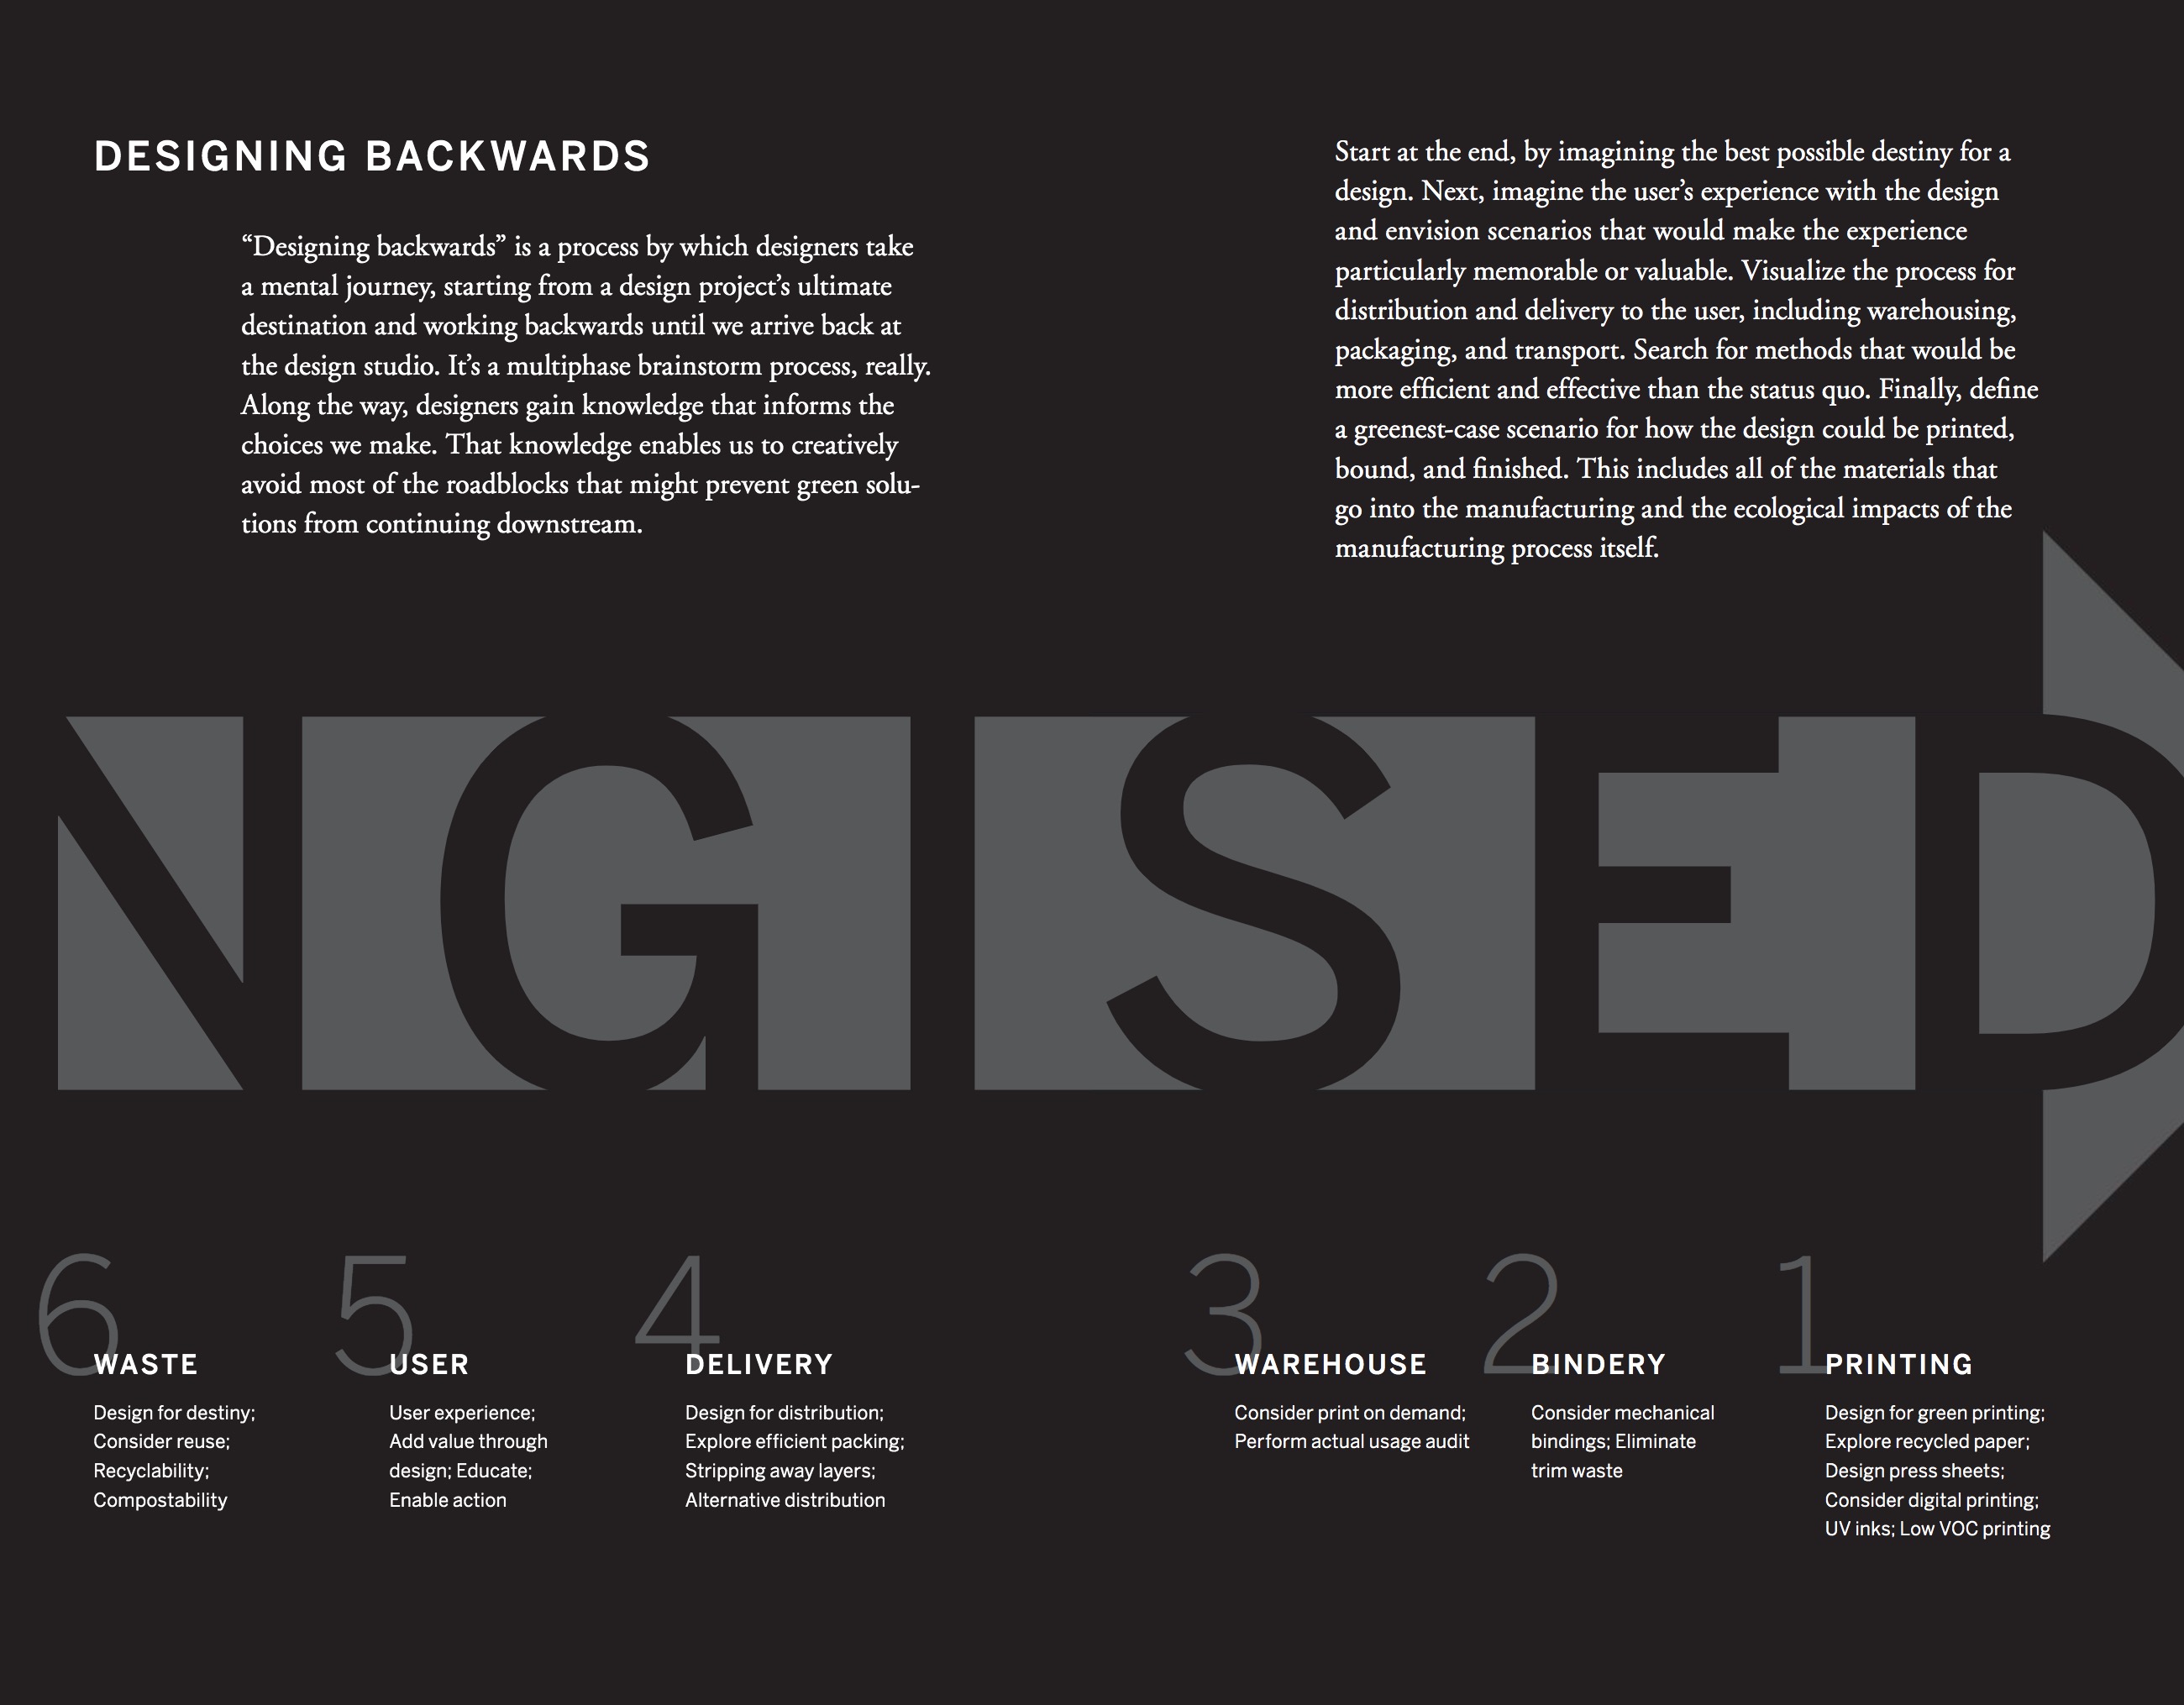
Designers can have a power impact on all phases of the user experience. Often our involvement is limited to the duties of creating graphics and specifying materials. This project is meant to challenge your design muscles and give you an opportunity to think up and down the entire design process. Research and concept are as important as the form of the design.
- - - - - - - - - - - - - - - - - - - - - - - - - - - - - - - - - - - - - - - -
THU FEB 08
- - - - - - - - - - - - - - - - - - - - - - - - - - - - - - - - - - - - - - - -
For next Tuesday, in a couple 11x17s pages design a presentation that communicates your audit of your packaging situation...the problems/opportunities identified and any inspiration for your initial prototypes. Use these questions to frame your audit:
1. How the product is currently packaged (materials, pieces)
2. What do they look like? (graphics, patterns, words)
3. What was it like to open it? (steps, easy, hard, need other tools to open)
4. What are the problems? (too much, plastic, better materials, simpler, etc)
5. What’s the potential? (goals, initial ideas, inspiration, etc)
Also bring in your brand board, tools and supplies to work on packaging mockups in class. Chipboard, cardstock, old snack boxes, 12-packs, cereal boxes work great.
- - - - - - - - - - - - - - - - - - - - - - - - - - - - - - - - - - - - - - - -
TUE FEB 13
- - - - - - - - - - - - - - - - - - - - - - - - - - - - - - - - - - - - - - - -
Inclass: Set up Packaging Design and what we will be working on for the next couple weeks.
Individually go over your brand boards, inspiration and audits.
Start prototyping:
-
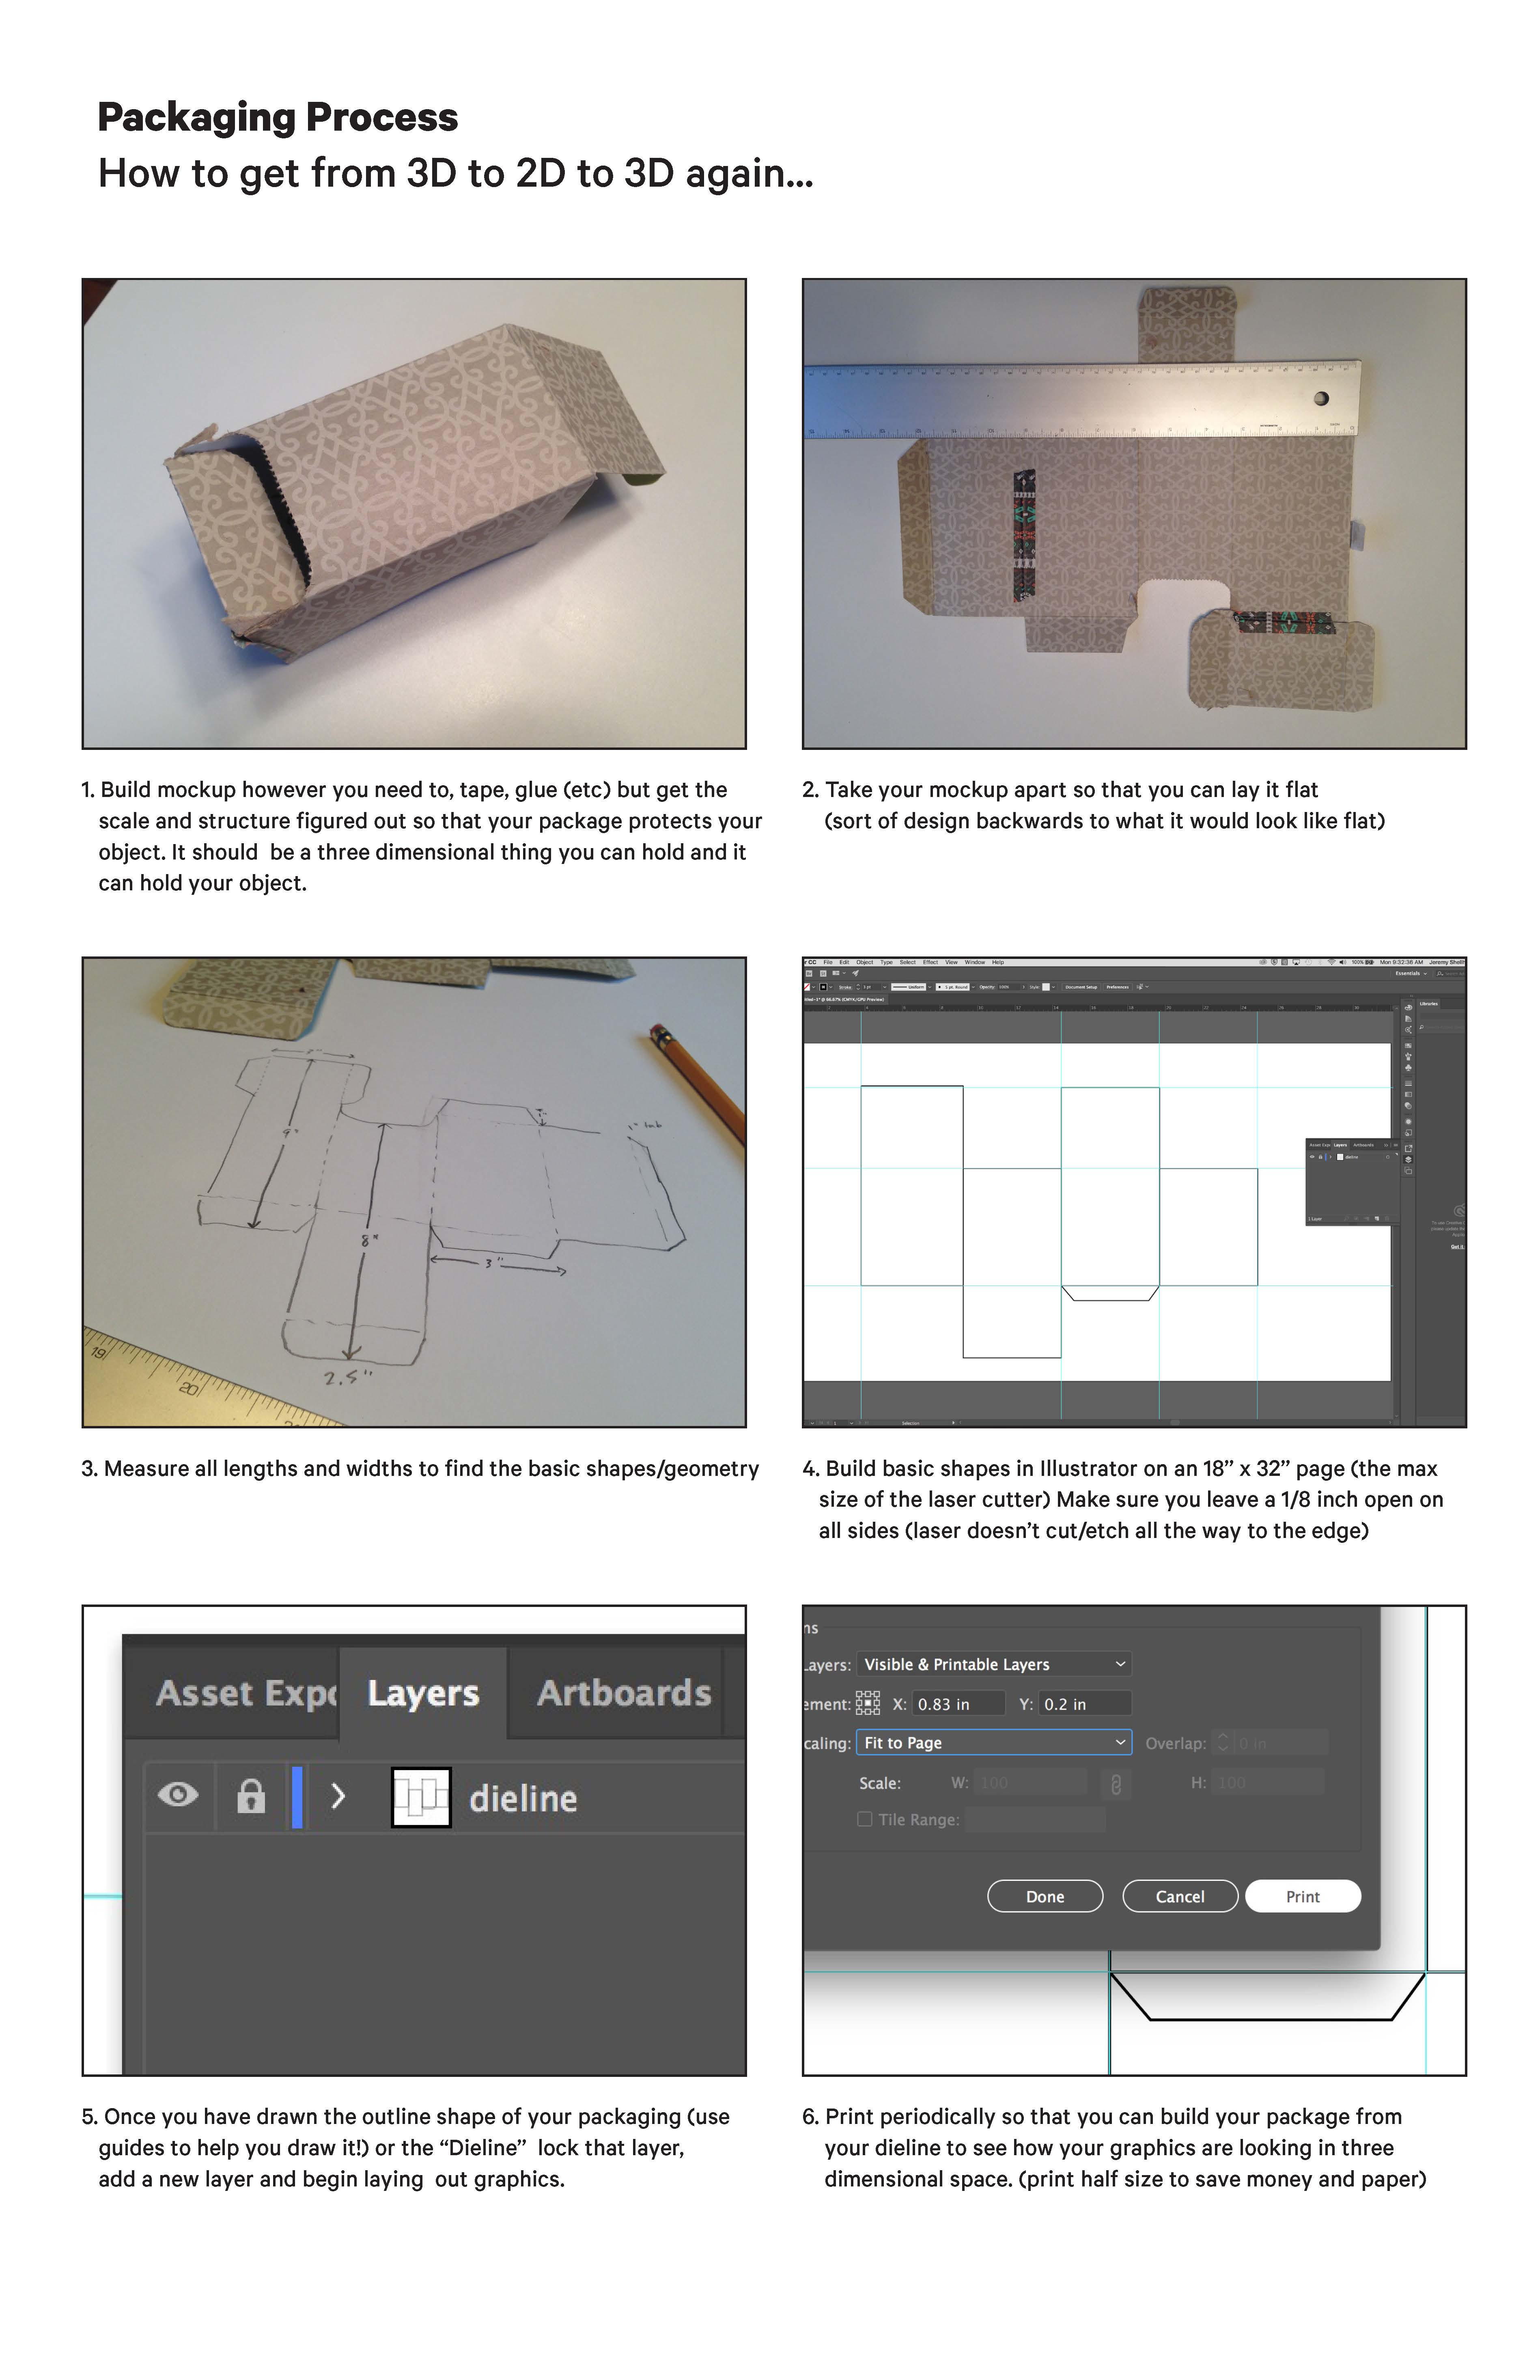
Measure your object.
-
Drape paper around your object and/or fold materials to see how you might wrap or protect your object.
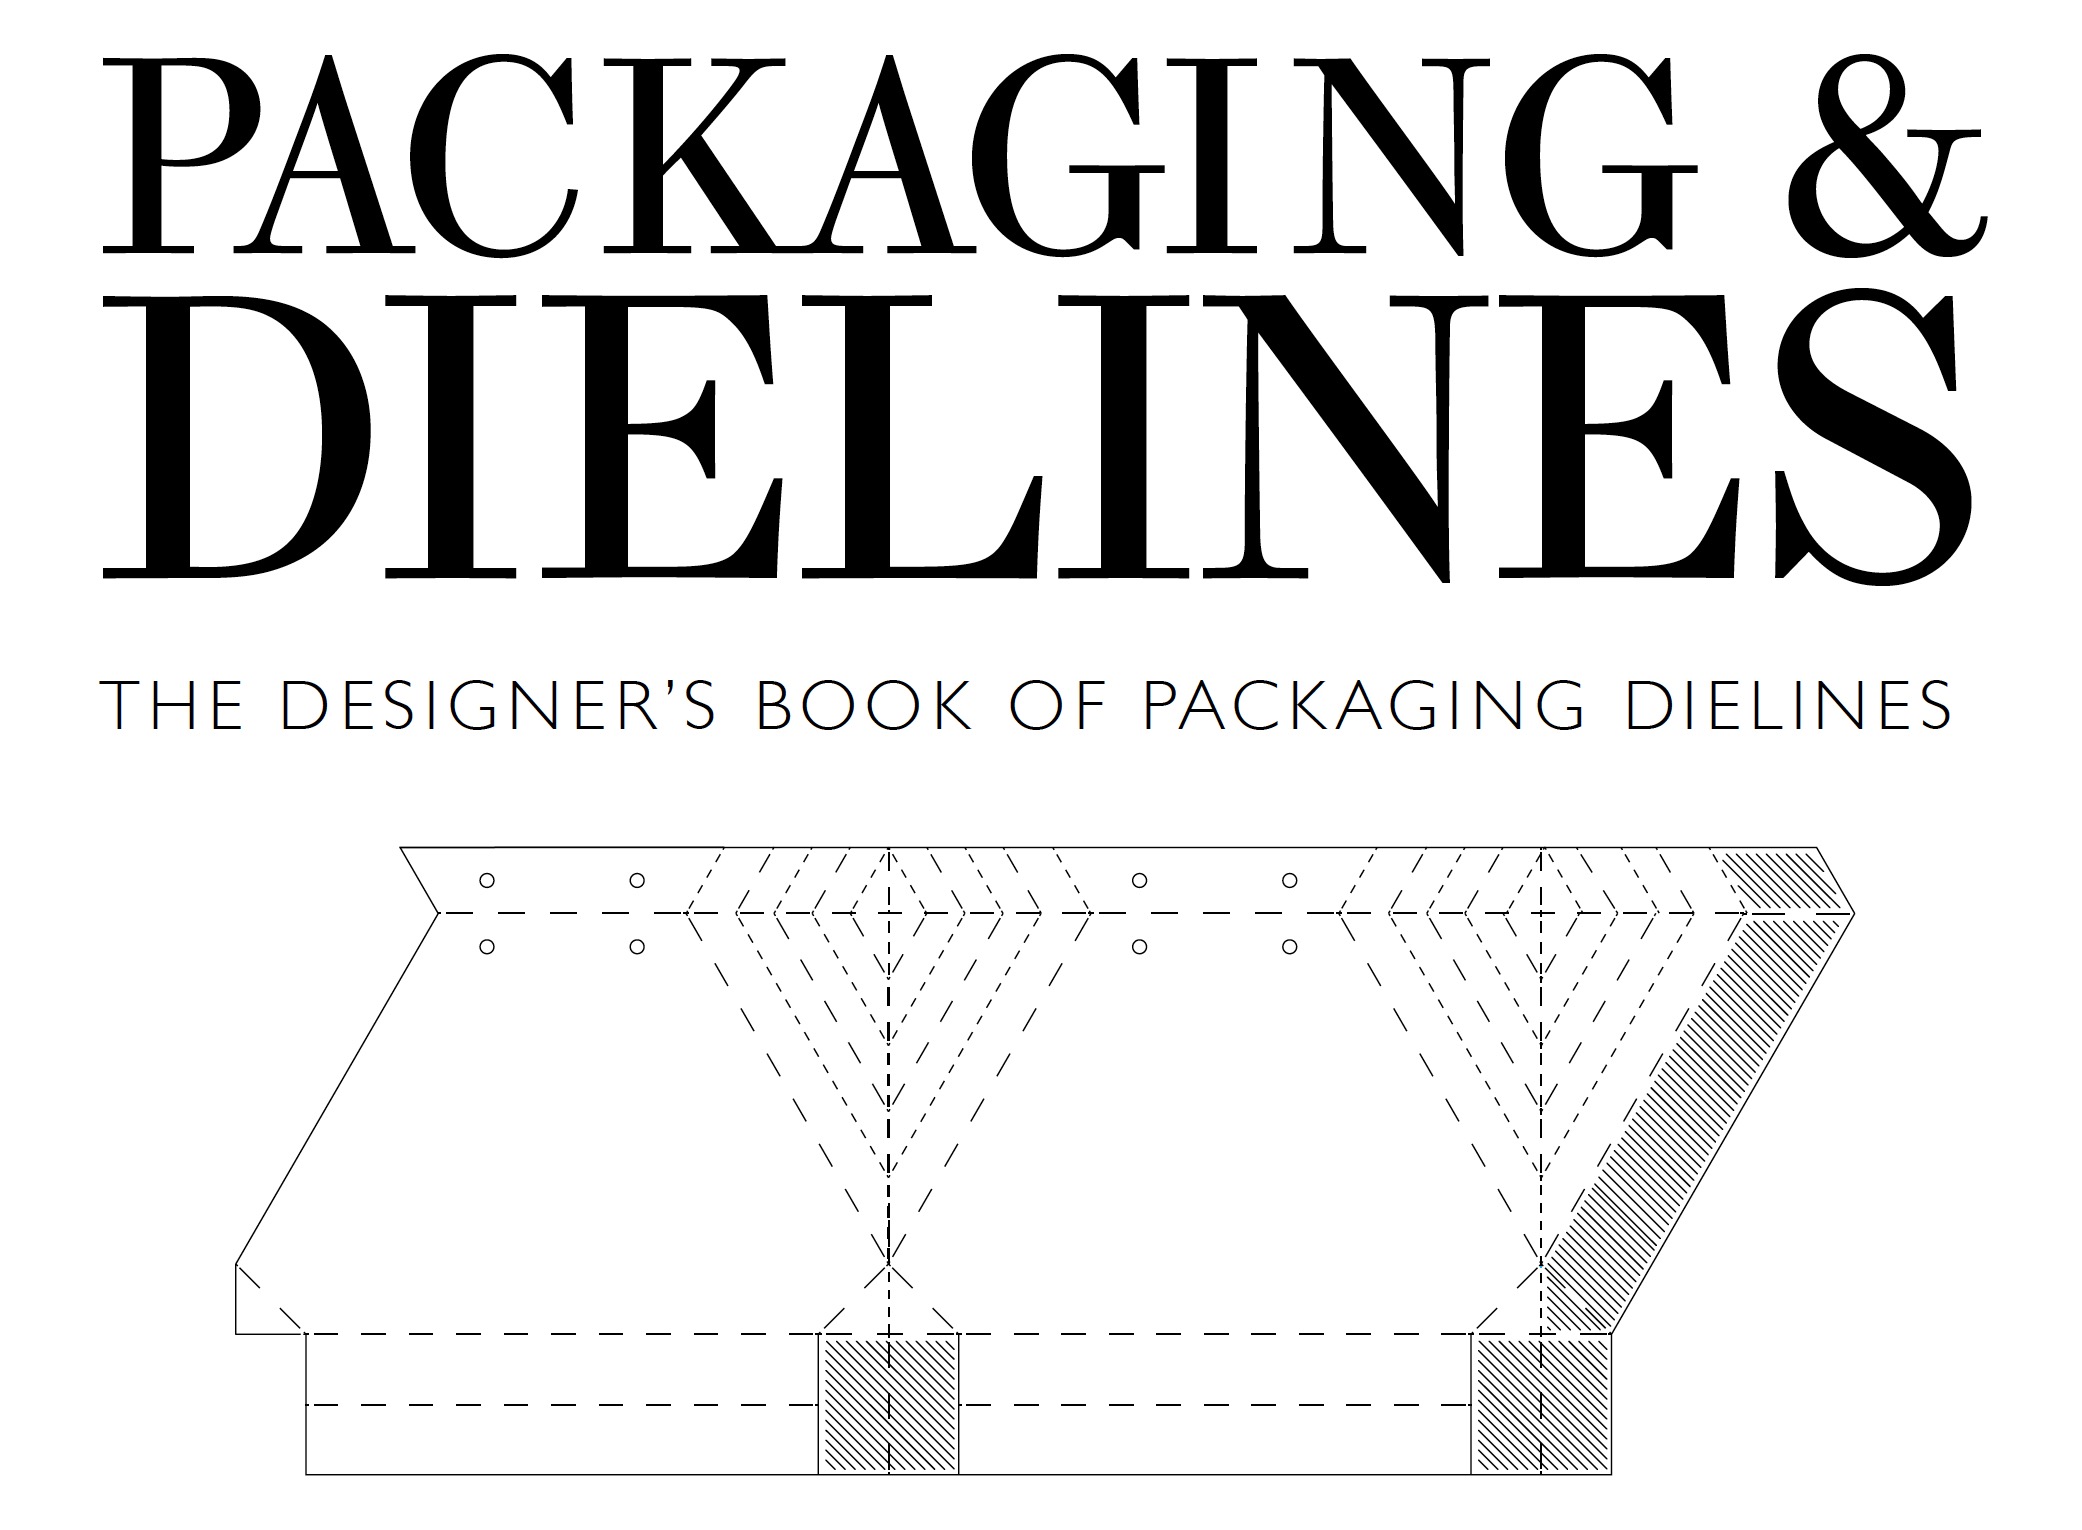
- Use existing packaging templates for inspiration, printout, test, made mods based on your object’s measurements and refine. Here are some from www.thedieline.com as well


Homework: For next class, create a short pdf presentation to present to te class that communicates your audit ...the problems/opportunities identified, inspiration and initial concept sketches and/or mockups. Have at least 2-3 physical mockups to walk us through.
Think about big ideas: function, shape, total amount of material, folds…construction. Use thicker paper to get a feeling for this thing and what it is like to hold and for the package to hold your object.
- - - - - - - - - - - - - - - - - - - - - - - - - - - - - - - - - - - - - - - -
THU FEB 15
- - - - - - - - - - - - - - - - - - - - - - - - - - - - - - - - - - - - - - - -
Inclass: Dieline Demo. Review audit presentations and initial ideas.
Homework:
Based on feedback from your audit presentation and your identification of a problem(s)/opportunity with the current packaging experience (aesthetic, ecological and/or functional).
Using one or both of your dielines start testing your graphics out by placing them in the dieline in a variety of ways to help accentuate the sides/planes of the package. Print them out and then build them.
- - - - - - - - - - - - - - - - - - - - - - - - - - - - - - - - - - - - - - - -
TUE FEB 20
- - - - - - - - - - - - - - - - - - - - - - - - - - - - - - - - - - - - - - - -
Inclass: Review your mockups with graphic exploration; Work time on dieline. Bring materials to work on mockups in class.
Laser Cutter Demo.
Homework: Refinements based on feedback. Narrow down to 1-2 versions and print them out for next class.
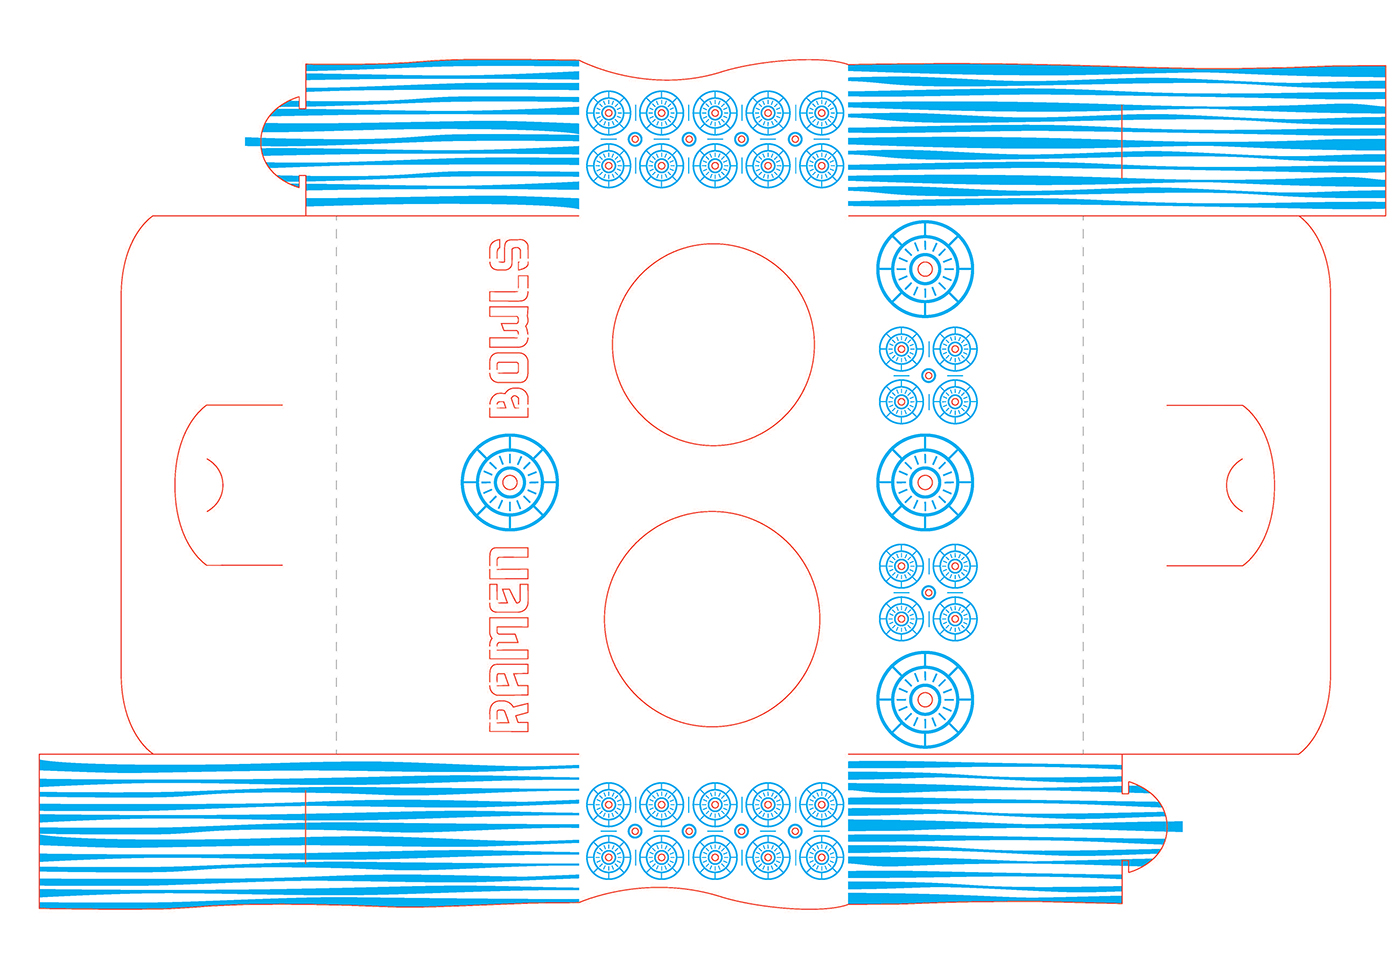
DIELINES_FOR_LASER
- - - - - - - - - - - - - - - - - - - - - - - - - - - - - - - - - - - - - - - -
THU FEB 22
- - - - - - - - - - - - - - - - - - - - - - - - - - - - - - - - - - - - - - - -
Inclass:
Introduce final photo documentation and ideas.
Review Prototypes (with graphics)
Worktime in Laser, Print and Riso Labs
Homework:
Refinements to final prototype (with graphics). Print and build for next class. For graphics you must include the following:
-
Brand Name/Logo
- Tagline and/or Descriptive text
-
Identify Item/Product
- Quantity (if multiple)
- Size and Weight
- Barcode
- Company info
Create sketches/moodboard/inspiration for your final photo documentation on an 11x17. Print for next Thursday.


- - - - - - - - - - - - - - - - - - - - - - - - - - - - - - - - - - - - - - - -
TUE FEB 27
- - - - - - - - - - - - - - - - - - - - - - - - - - - - - - - - - - - - - - - -
Optional class: Worktime in Laser, Print and Riso Labs
- - - - - - - - - - - - - - - - - - - - - - - - - - - - - - - - - - - - - - - -
THU FEB 29
- - - - - - - - - - - - - - - - - - - - - - - - - - - - - - - - - - - - - - - -
Inclass:
Final dieline Due. PROJECT_ONE_FINAL_FILES
- Review final prototype (with graphics)
-
Review sketches/moodboard/inspiration for your final photo documentation on an 11x17.
-
Meet as group (with Alex) & introduce brand board final.
1. Create a full-size packaging prototype in color that includes all info:
- Brand Name/Logo
- Tagline and/or Descriptive text
- Identify Item/Product
- Quantity (if multiple)
- Size and Weight
- Barcode
- Company info
2. Design an 18x32 inch poster (same aspect ratio as as IG story) that walks viewers through the project. Design it so it works both in print/onscreen. Print at 60% scale to fit on an 11x17 for feedback.
What to include on your Packaging Poster/Post:
- your product, any images of product or
other objects that inspired redesign
- original packaging problems/packaging goals
(could be images w/ call outs or could be bullet point list)
- your product/brand identity kit of parts
- new packaging dieline
- final images with any callouts to show unique features of the design


- - - - - - - - - - - - - - - - - - - - - - - - - - - - - - - - - - - - - - - -
TUE MAR 05
- - - - - - - - - - - - - - - - - - - - - - - - - - - - - - - - - - - - - - - -
Inclass:
Review full-size packaging prototype and 18x32 inch poster.
Homework:
Refinements based on feedback. Design final packaging prototype and final poster.
Upload the poster to FINAL_PACKING_DESIGN_POSTERS
- - - - - - - - - - - - - - - - - - - - - - - - - - - - - - - - - - - - - - - -
THU MAR 07
- - - - - - - - - - - - - - - - - - - - - - - - - - - - - - - - - - - - - - - -
Inclass:
Final packaging prototype is due in full-scale, full-color, full-paper, full-everything!
Post final poster file to: FINAL_PACKING_DESIGN_POSTERS
Homework:
Print final poster for next class after the break.