VISC 304 Sophomore Studio | Project 1 | Project 2 | Project 3 | Resources
Better Packaging: Redesign a Toy, Art/Office Supply Packaging
Objective: Redesign a packaging experience for a art/office supply/tool or toy with consideration to it’s sustainability. In our throw-away society, manufacturers usually specify their packaging choices based on conventional sizes/materials or perceived budget restraints. Not often enough is consideration is given to the user’s experience of it, how it leverages their brand or how it impacts the environment.
Create a package that expresses how it looks, what is does, what it is like to use it. Pay specific attention to how the package holds the object (protect), shows the object (communicates a story) and is an extension of the experience (so someone can keep the package or be able to up-cycle it).
Designers can have a power impact on all phases of the user experience. Often our involvement is limited to the duties of creating graphics and specifying materials. This project is meant to challenge your design muscles and give you an opportunity to think up and down the entire design process. Research and concept are as important as the form of the design.
- - - - - - - - - - - - - - - - - - - - - - - - - - - - - - - - - - - - - - - -
THU JAN 18
- - - - - - - - - - - - - - - - - - - - - - - - - - - - - - - - - - - - - - - -
Intro to Class & Syllabus
Set Up & Assign Project 1: Better Packaging
Homework:
Fill this Introductory Questionaire out: https://forms.gle/zCknNRK6veru3HQr9
Buy, borrow, and/or bring a toy, office supply or kitchen utensil for next class that needs a better package design or would be interesting to re-package. Pick a couple just in case some other folks bring in similar options and you don’t want to do what others are doing. Create a 11x17 moodboard/mashup of your products, interesting packaging precedent and inspiration you can find. Print it out and bring to class to chat about and help guide us through your initial prototyping and our conversations.
While at the store(s) that sell that product and document (photos) audit what’s out there:
Audit the package and the experience opening it by asking:
1. How the product is currently packaged (materials, pieces)
2. What do they look like? (graphics, patterns, words)
3. What was it like to open it? (steps, easy, hard, need other tools to open)
4. What are the problems? (too much, plastic, better materials, simpler, etc)
5. What’s the potential? (goals, initial ideas, inspiration, etc)
Also for next class: Bring xacto knives, scissors, glue, tape, bone scorer (or a butter knife).
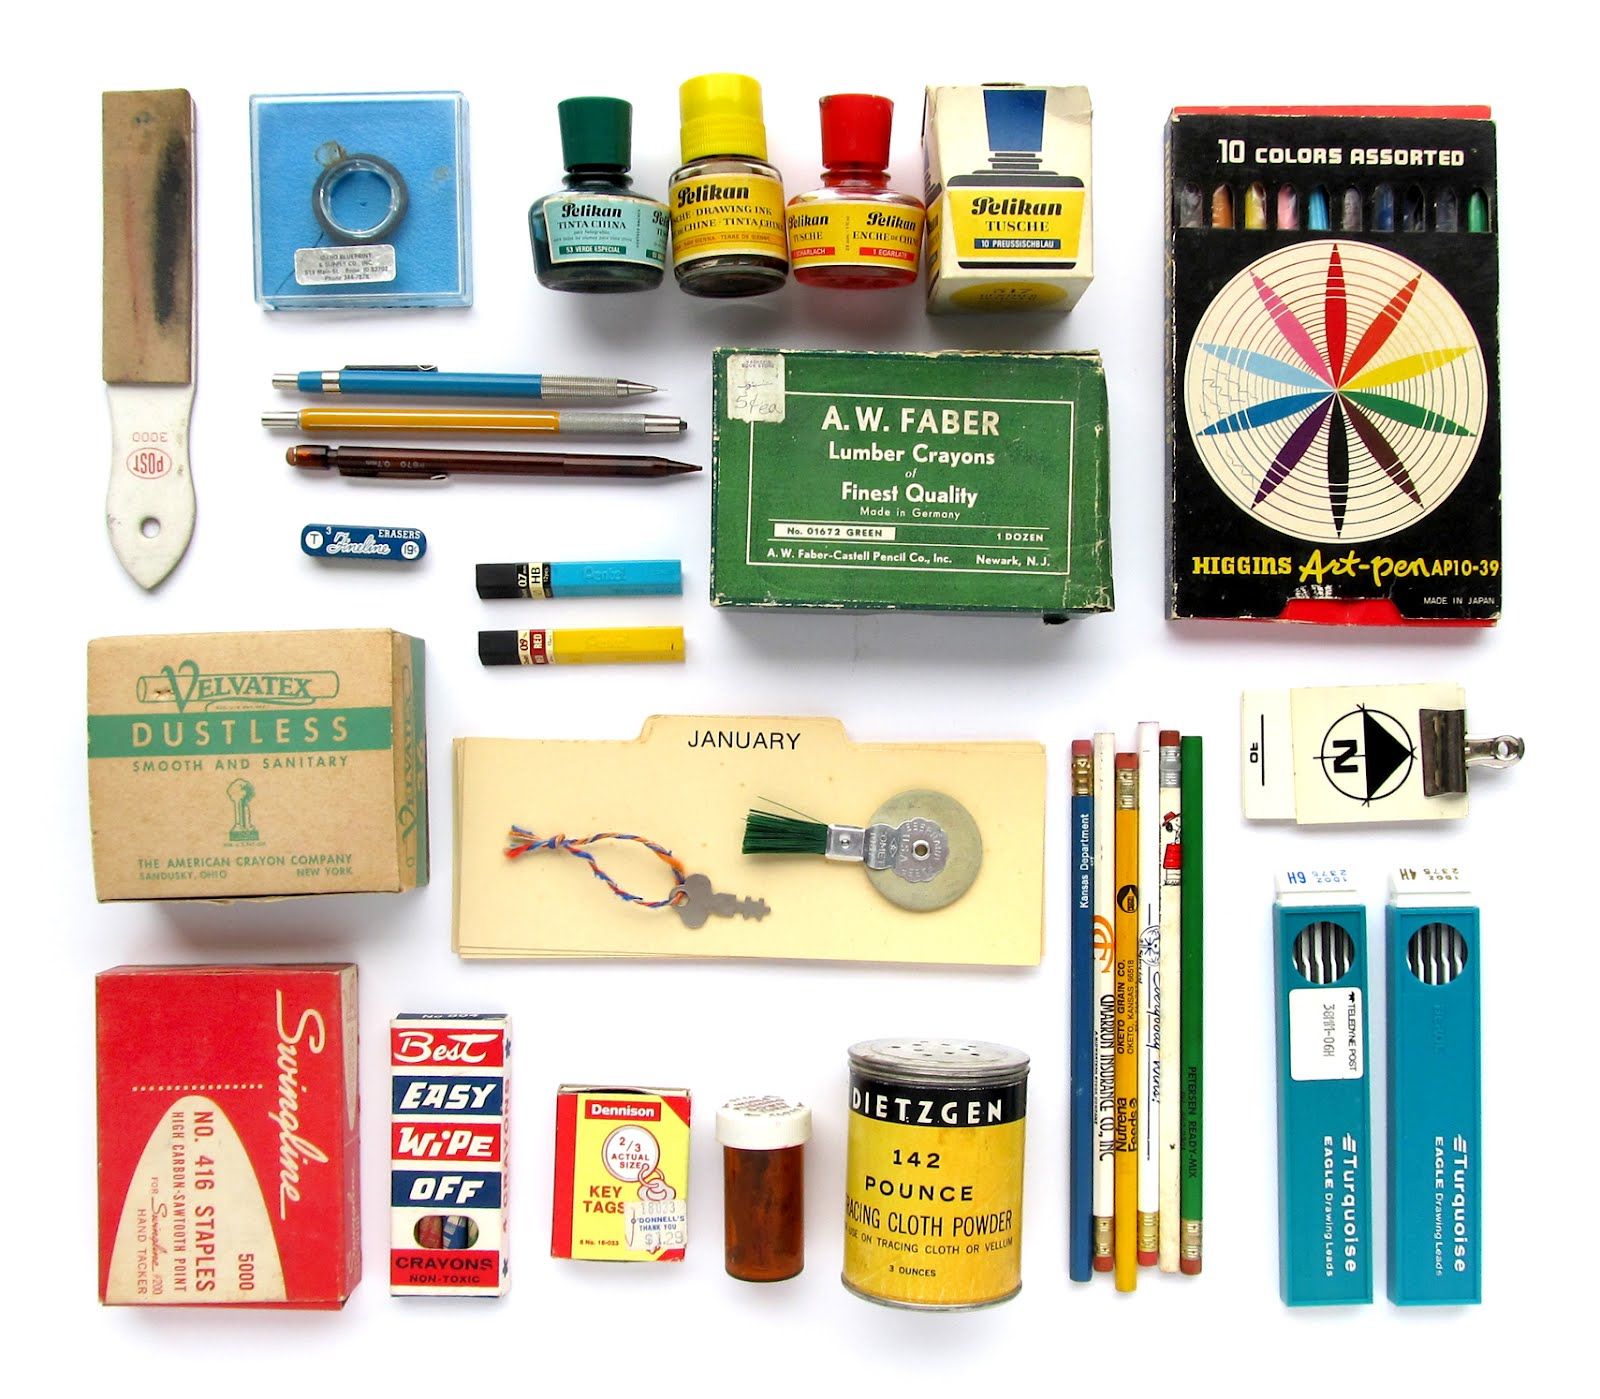
List of potential objects:
Office & Art supplies (with Brand Name)
Pencils (Carbon)
Paintbrushes (Inkwash)
Pens (Penpoint)
Erasers (Blankspace)
PaperClips (Wire-o)
Scissors (Chop Chop)
Stapler (Standard Staple Co.)
Staples (brackets)
Pushpins (Gallery)
Rubber bands (Binder Brand)
Binder clips (Stack)
Bottle of Ink (Artisan)
Xacto Knife (Cross cut)
Highlighters (Glooco)
Tape and/or Tape Dispenser (Tape Mate)
Glue Stick or Glue (Grip Equipment)
Post-it Notes (Story Stickers)
Hole Punch (Punch)
Rubber Bands (Flexi)
Magnets (snap)
Label Maker (Tag)
Correction Fluid (Fixit)
Tape Measure (Pro Rule)
Acrylic paints (ChromaVibe)
Watercolor paints (AquaFusion)
Colored pencils (Color Flex)
Oil pastels (Blend)
Graphite pencils (graph line)
Small Sketchbook (mini canvas)
Paintbrushes (brush-craft)
Protractor (precision angle)
French Curves (curvve)
Palette knives: (PalettePro)
Linoleum blocks (BlockCraft)
Calligraphy pen (script style)
Fountain pens (Flow Inc)
Charcoal sticks (CharcoChic)
Colored markers (ChromaWave)
Fixative spray (Fixible)
Drawing pens (Precision Pen)
Linoleum carving tools (LinoCraft)
Wood Block Carving tools (WoodCraft)
Clay tools SculptStyle
Calligraphy/India ink: InkStyle
Artist's tape (ArtTape)
Blending stumps (fuse art)
Cooking & Kitchen Utensils (with Brand Name)
Whisk (Mix It Up)
Spatula (Flip Flop)
Garlic Press (Press Co.)
Peeler (Pare & Peel)
Basting Brush (Baste Mode)
Measuring Spoons (Exactly)
Citrus Squeezer (Main Squeeze)
Microplane (Zester)
Meat Thermometer (Ready Roast)
Salt and Pepper Shaker (Sal & Pep)
Chip Clips (Chipper)
Can Opener (Latchkey)
Pizza Cutter (Slice)
Wine Opener (Uncorked)
Ice Cream Scoop (Joy Co.)
Salad Tongs (In the Mix)
- - - - - - - - - - - - - - - - - - - - - - - - - - - - - - - - - - - - - - - -
TUE JAN 23
- - - - - - - - - - - - - - - - - - - - - - - - - - - - - - - - - - - - - - - -
Inclass: Be ready to brainstorm and work in class. Bring markers, sharpies, stuff to jots ideas down quickly. Using your object(s) and placing it in the center we will create concept fans that answer (Who, What, How, Where, Why). Object Lessons. Let’s Get Ideas.
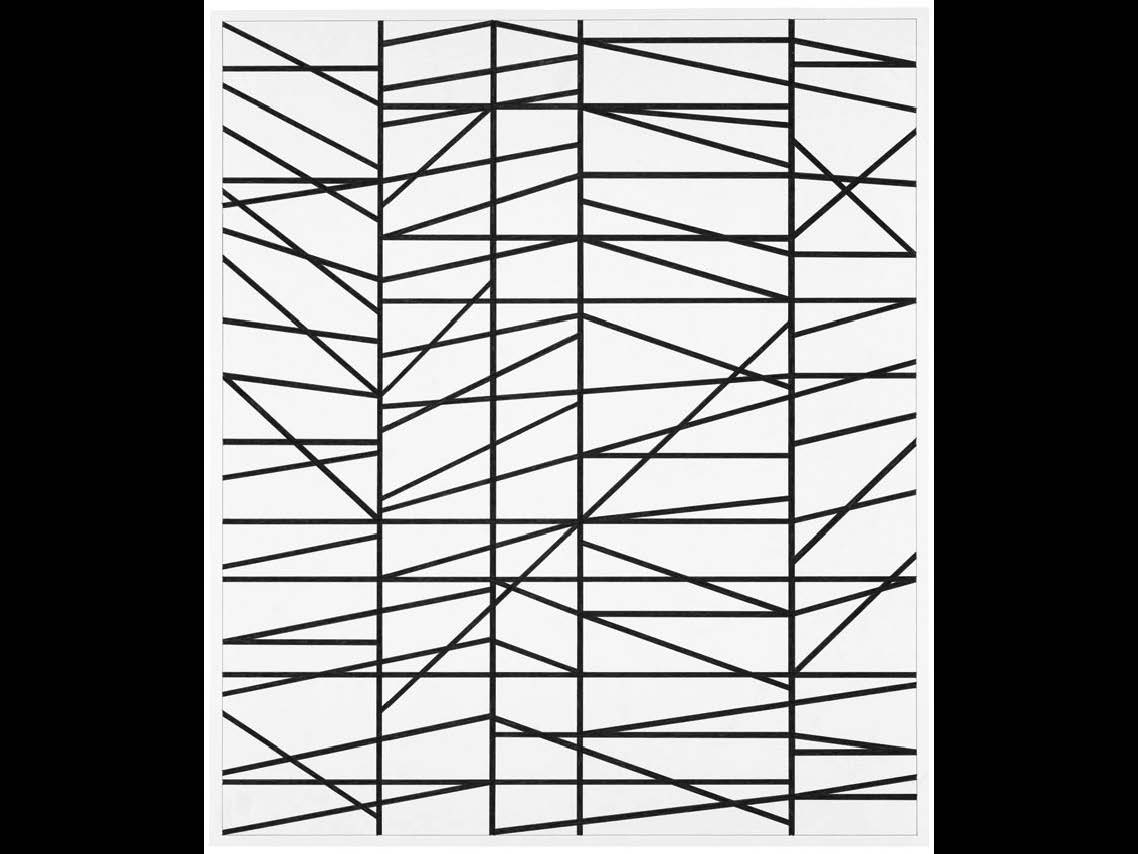
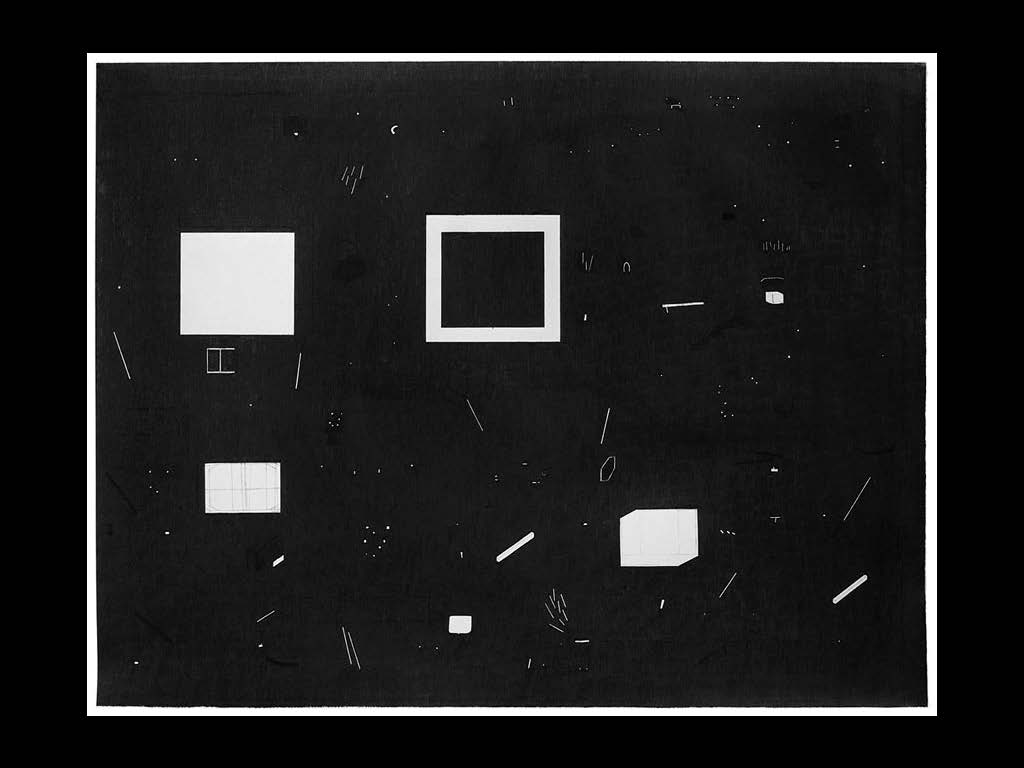
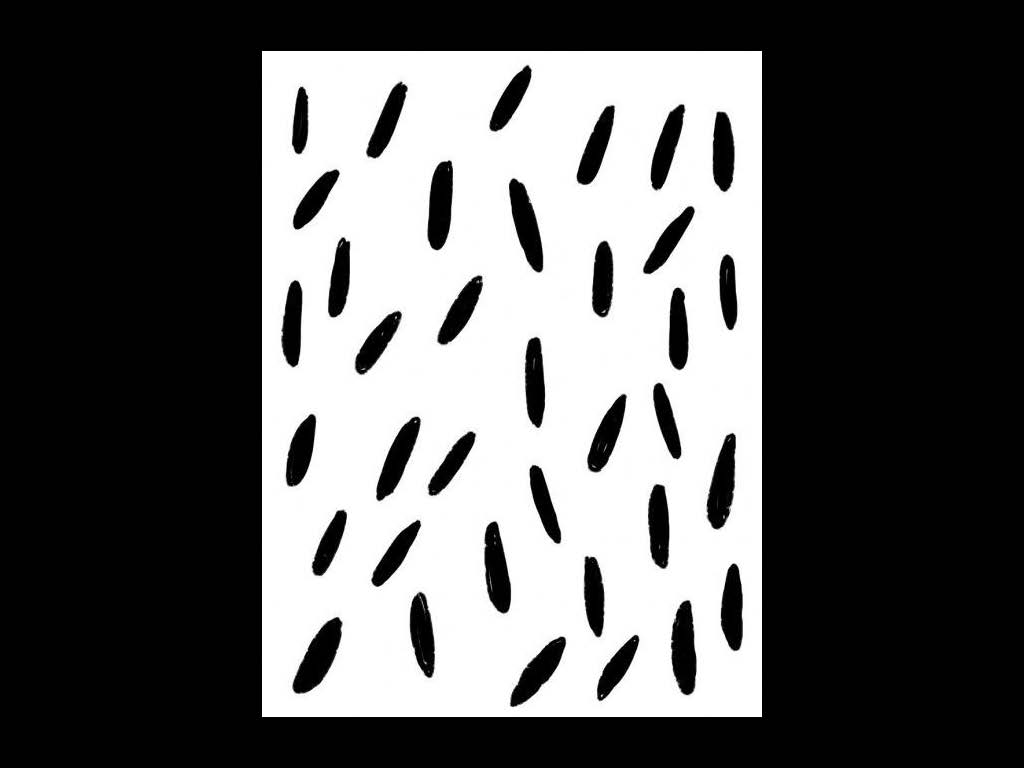
Formally, start with using points, lines, planes, patterns, shapes, graphics, forms, relationships found on your product and its existing packaging as a starting point. What do you see? What about your object is interesting? A line, pattern, curve (see my scissor example below). What can inspire the shape of your packaging. What about sculpture? or architecture?


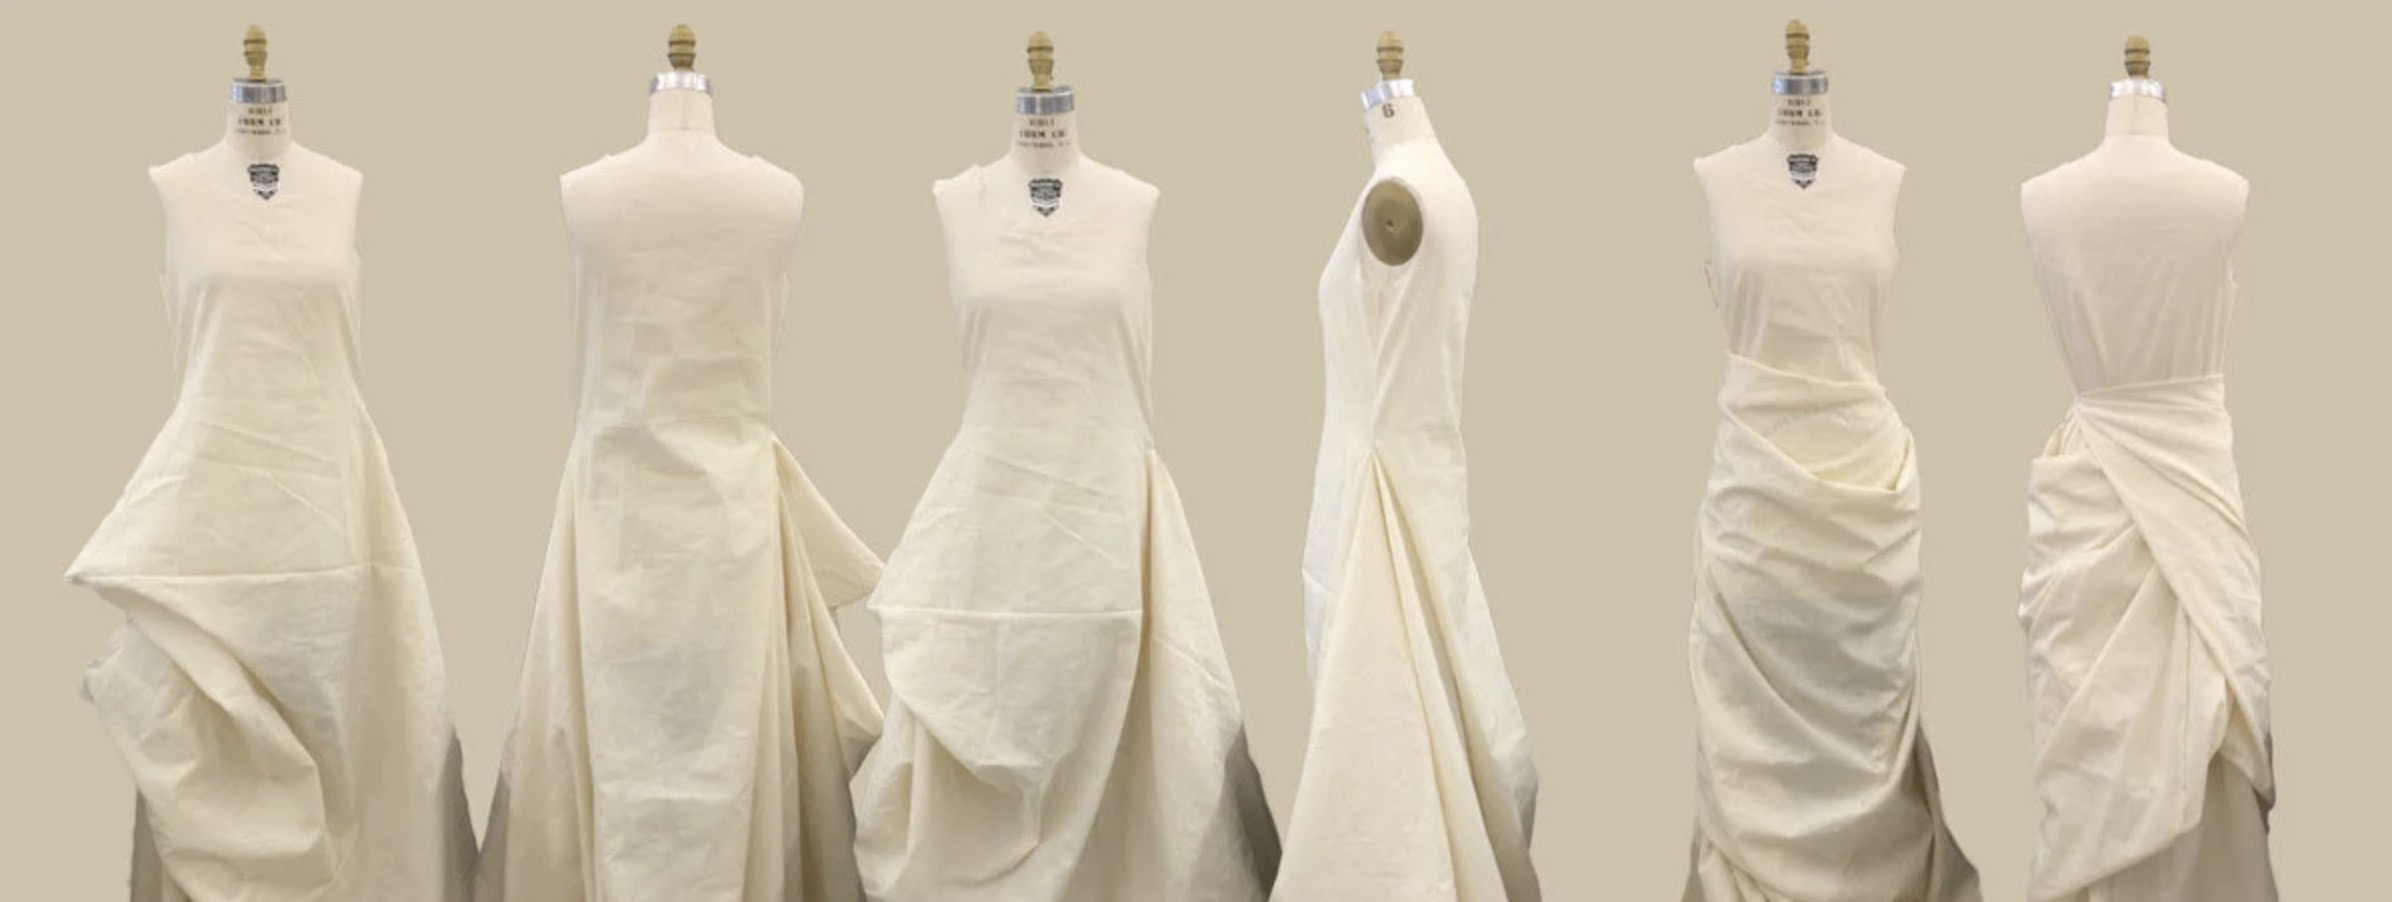
Also try draping paper around your object like a fashion designer and a dress form.
Homework: For next Tuesday, create a pdf presentation that communicates your audit...the problems/opportunities identified, inspiration and 3-5 initial Concept Sketches and Mockups. Remember your answers to these questions:
1. How the product is currently packaged (materials, pieces)
2. What do they look like? (graphics, patterns, words)
3. What was it like to open it? (steps, easy, hard, need other tools to open)
4. What are the problems? (too much, plastic, better materials, simpler, etc)
5. What’s the potential? (goals, initial ideas, inspiration, etc)
- - - - - - - - - - - - - - - - - - - - - - - - - - - - - - - - - - - - - - - -
Note on Concept Sketches and Mockups
Concept sketches can be produced however you feel comfortable. Usually these will be hand sketches or simple mockups, but you may refine these on the computer. Use paper mockups to make things 3d. Concept sketches can also utilize photos of packaging solutions to illustrate your point. Find a way to visualize your ideas.
Note on Inspiration
Create a mood board that synthesizes anything you have found that inspires your redesign. It could be other packages you like, interesting folds, shapes, die cuts, graphics, etc. Notes. Keywords. Art. Architecture.
- - - - - - - - - - - - - - - - - - - - - - - - - - - - - - - - - - - - - - - -
THU JAN 25
- - - - - - - - - - - - - - - - - - - - - - - - - - - - - - - - - - - - - - - -
Individual meetings on progress. Bring in tools and supplies to work on packaging mockups in class. Chipboard, cardstock, old snack boxes, 12-packs, cereal boxes work great.
- - - - - - - - - - - - - - - - - - - - - - - - - - - - - - - - - - - - - - - -
TUE JAN 30
- - - - - - - - - - - - - - - - - - - - - - - - - - - - - - - - - - - - - - - -
Inclass: Review audit presentations and initial ideas.
Place Audits here: PACKAGING_AUDITS_JAN_30
Homework:
Based on feedback from your audit presentation and your identification of a problem(s)/opportunity with the current packaging experience (aesthetic, ecological and/or functional), refine/design at least 2-3 different packaging concepts in paper form (full-size).
Think about big ideas: function, shape, total amount of material, folds…construction. Have atleast 2 full-size mockups for next class (use thicker paper to get a feeling for this thing and what it is like to hold and for the package to hold your object).
- - - - - - - - - - - - - - - - - - - - - - - - - - - - - - - - - - - - - - - -
THU FEB 01
- - - - - - - - - - - - - - - - - - - - - - - - - - - - - - - - - - - - - - - -
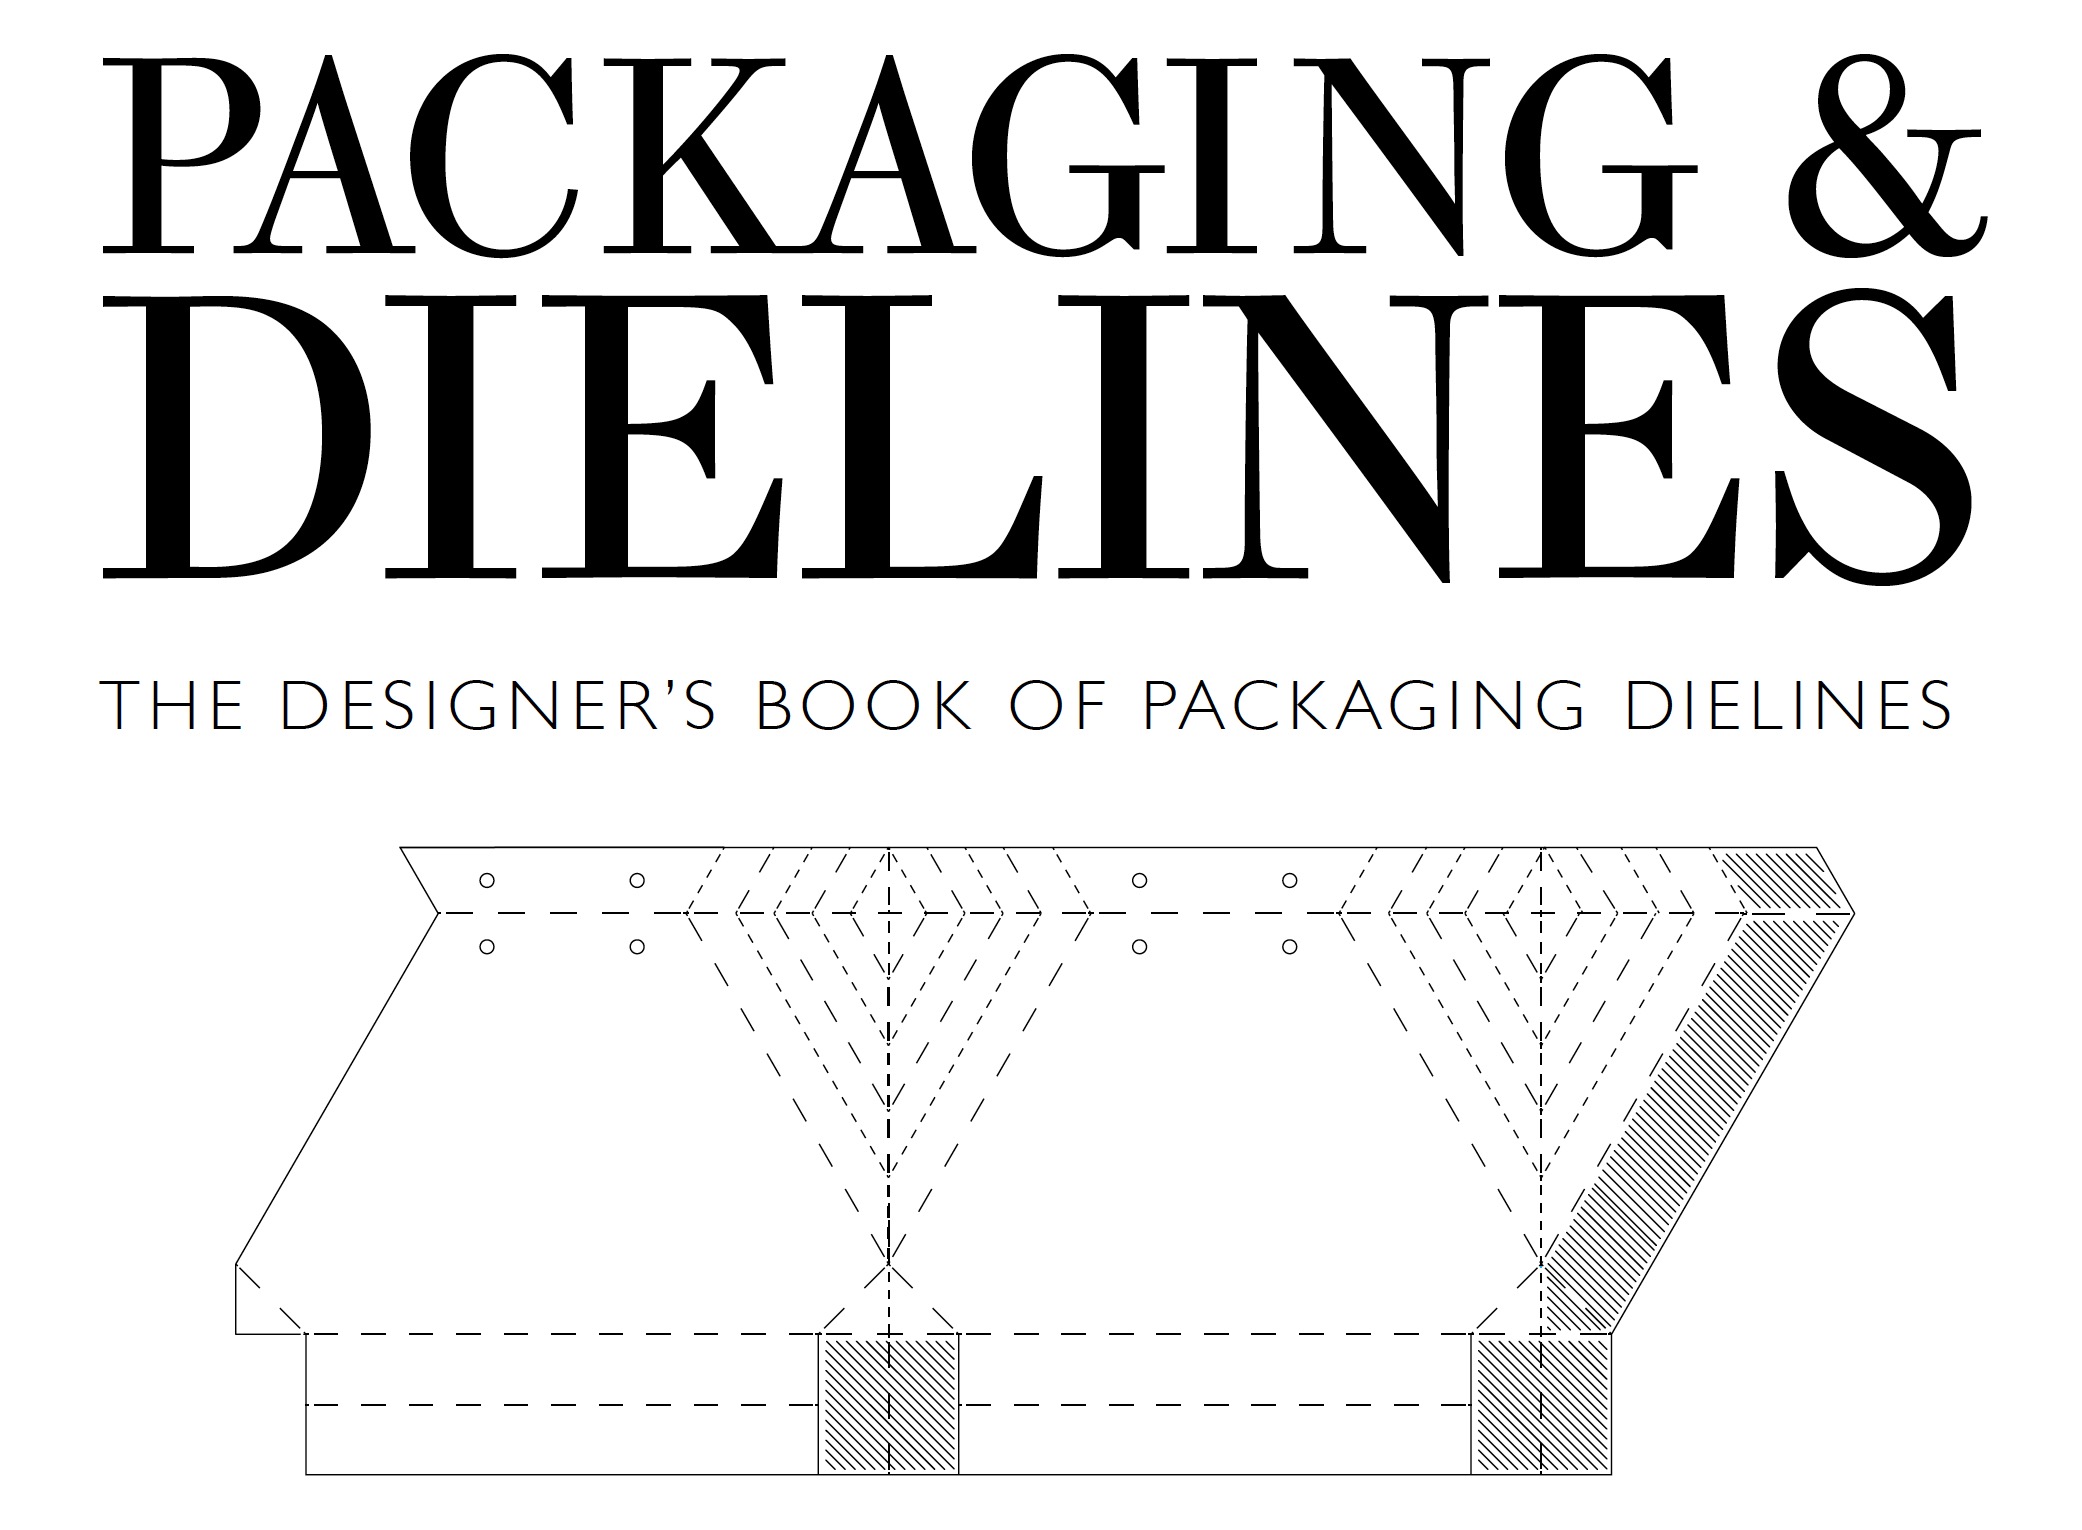
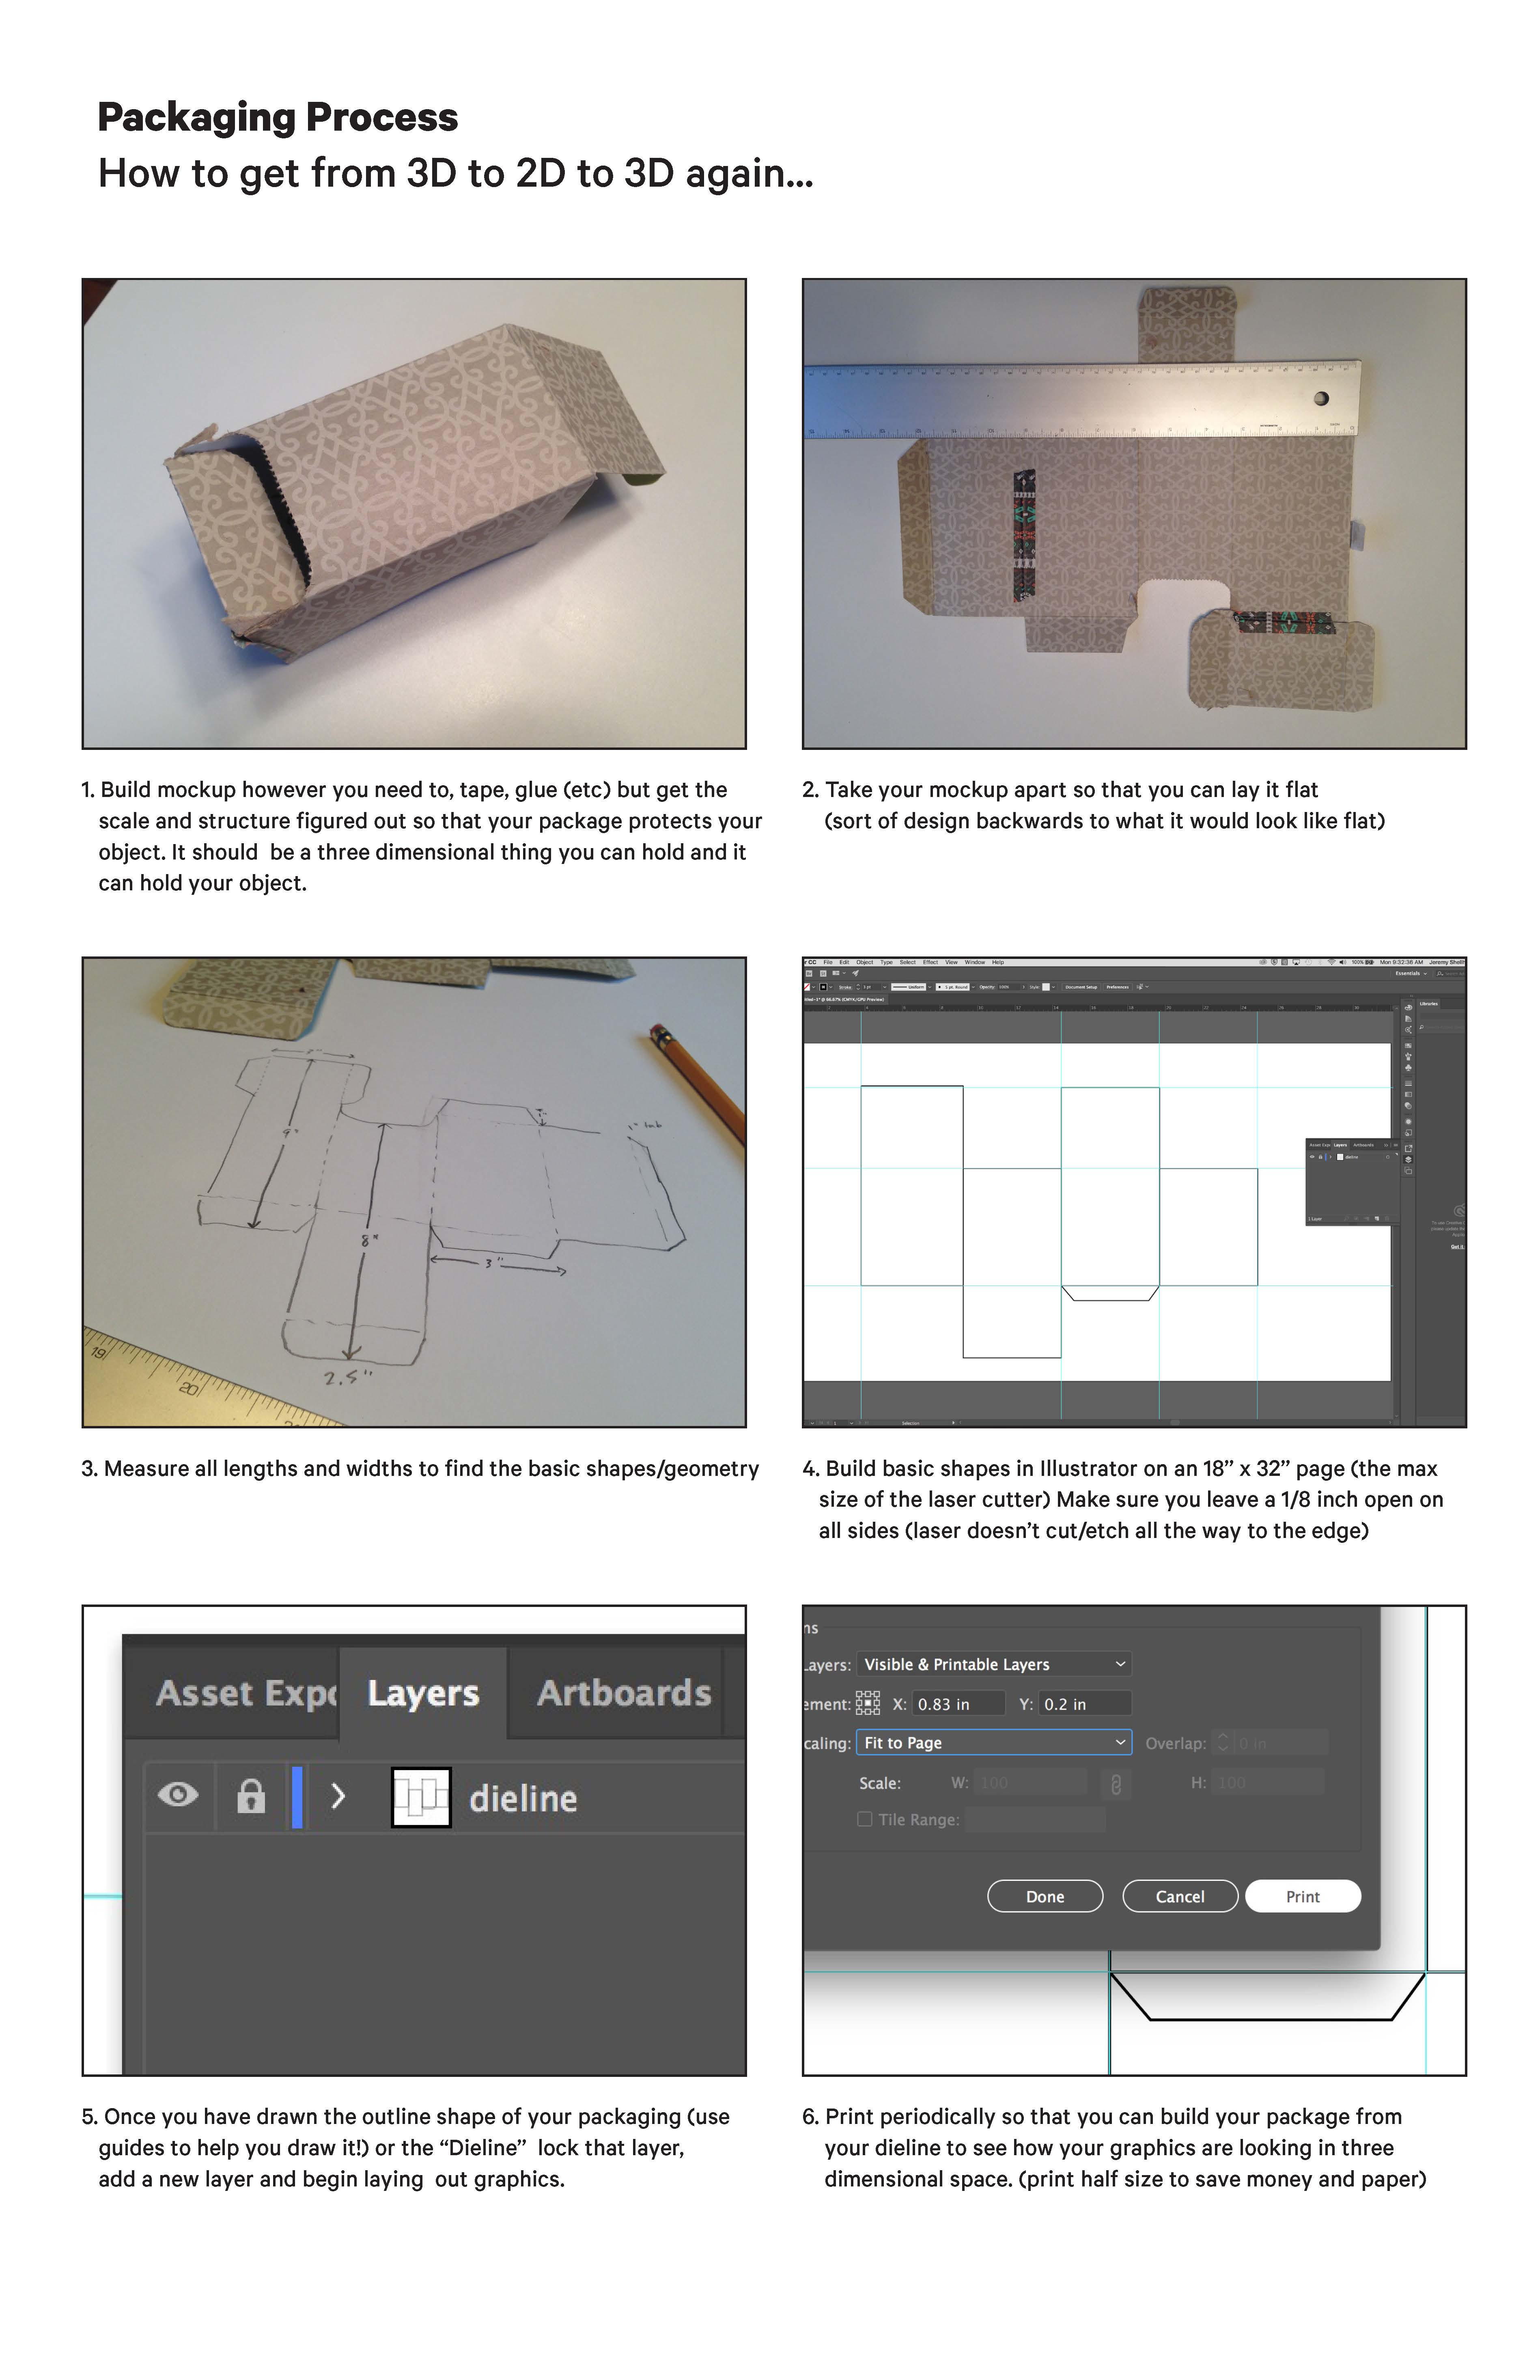
Inclass: Review mockups. Dieline Demo & Laser Cutter Demo. Bring in tools and supplies to work on packaging mockups in class. Chipboard, cardstock, old snack boxes, 12-packs, cereal boxes work great.
Introduce final photo documentation and ideas.
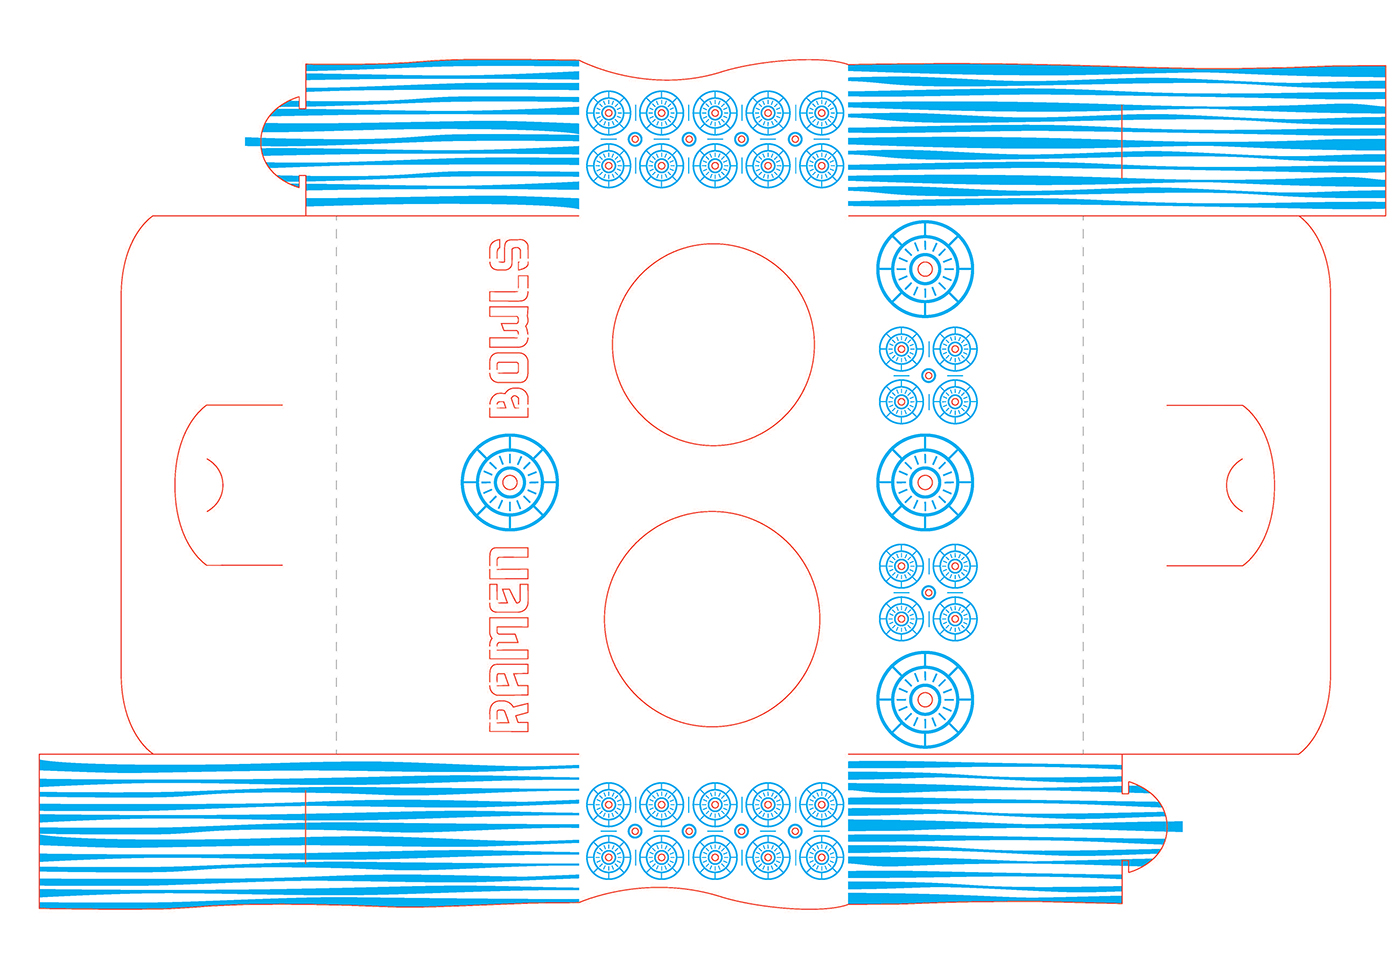
Homework: Based on feedback narrow down to 1-2 packaging direction(s). Build the dieline, print it and use it to make 1-2 3D mockups to test your folds and tabs. As you commit the dieline to the computer you should also play with graphic form (lines and shapes) to help accentuate the sides/planes of the package.
TUE FEB 06
- - - - - - - - - - - - - - - - - - - - - - - - - - - - - - - - - - - - - - - -
Inclass: Review 1-2 mockups with graphic form; Work time on dieline . Bring materials to work on mockups in class.
Homework: Refinements to final prototype and final photo documentation sketches/moodboard/inspiration.


- - - - - - - - - - - - - - - - - - - - - - - - - - - - - - - - - - - - - - - -
THU FEB 08
- - - - - - - - - - - - - - - - - - - - - - - - - - - - - - - - - - - - - - - -
Inclass: Review final prototype and photo documentation rough draft; Work time.
Homework: Package, dieline and 3-5 final photo poster (11x17 print). Due next class. Post your dieline and photo documentation pdf here: PROJECT_ONE_FINAL_FILES
{ Switch with Alex’s sections and introduce next project }
Alex’s Section Do This:
For next Tuesday, in a couple 11x17s pages design a presentation that communicates your audit of your packaging situation...the problems/opportunities identified and any inspiration for your initial prototypes. Use these questions to frame your audit:
1. How the product is currently packaged (materials, pieces)
2. What do they look like? (graphics, patterns, words)
3. What was it like to open it? (steps, easy, hard, need other tools to open)
4. What are the problems? (too much, plastic, better materials, simpler, etc)
5. What’s the potential? (goals, initial ideas, inspiration, etc)
Also bring in your brand board, tools and supplies to work on packaging mockups in class. Chipboard, cardstock, old snack boxes, 12-packs, cereal boxes work great.